Point clouds are normally made up of several million points and their management requires optimal resources in terms of computer speed, graphics card and memory required.
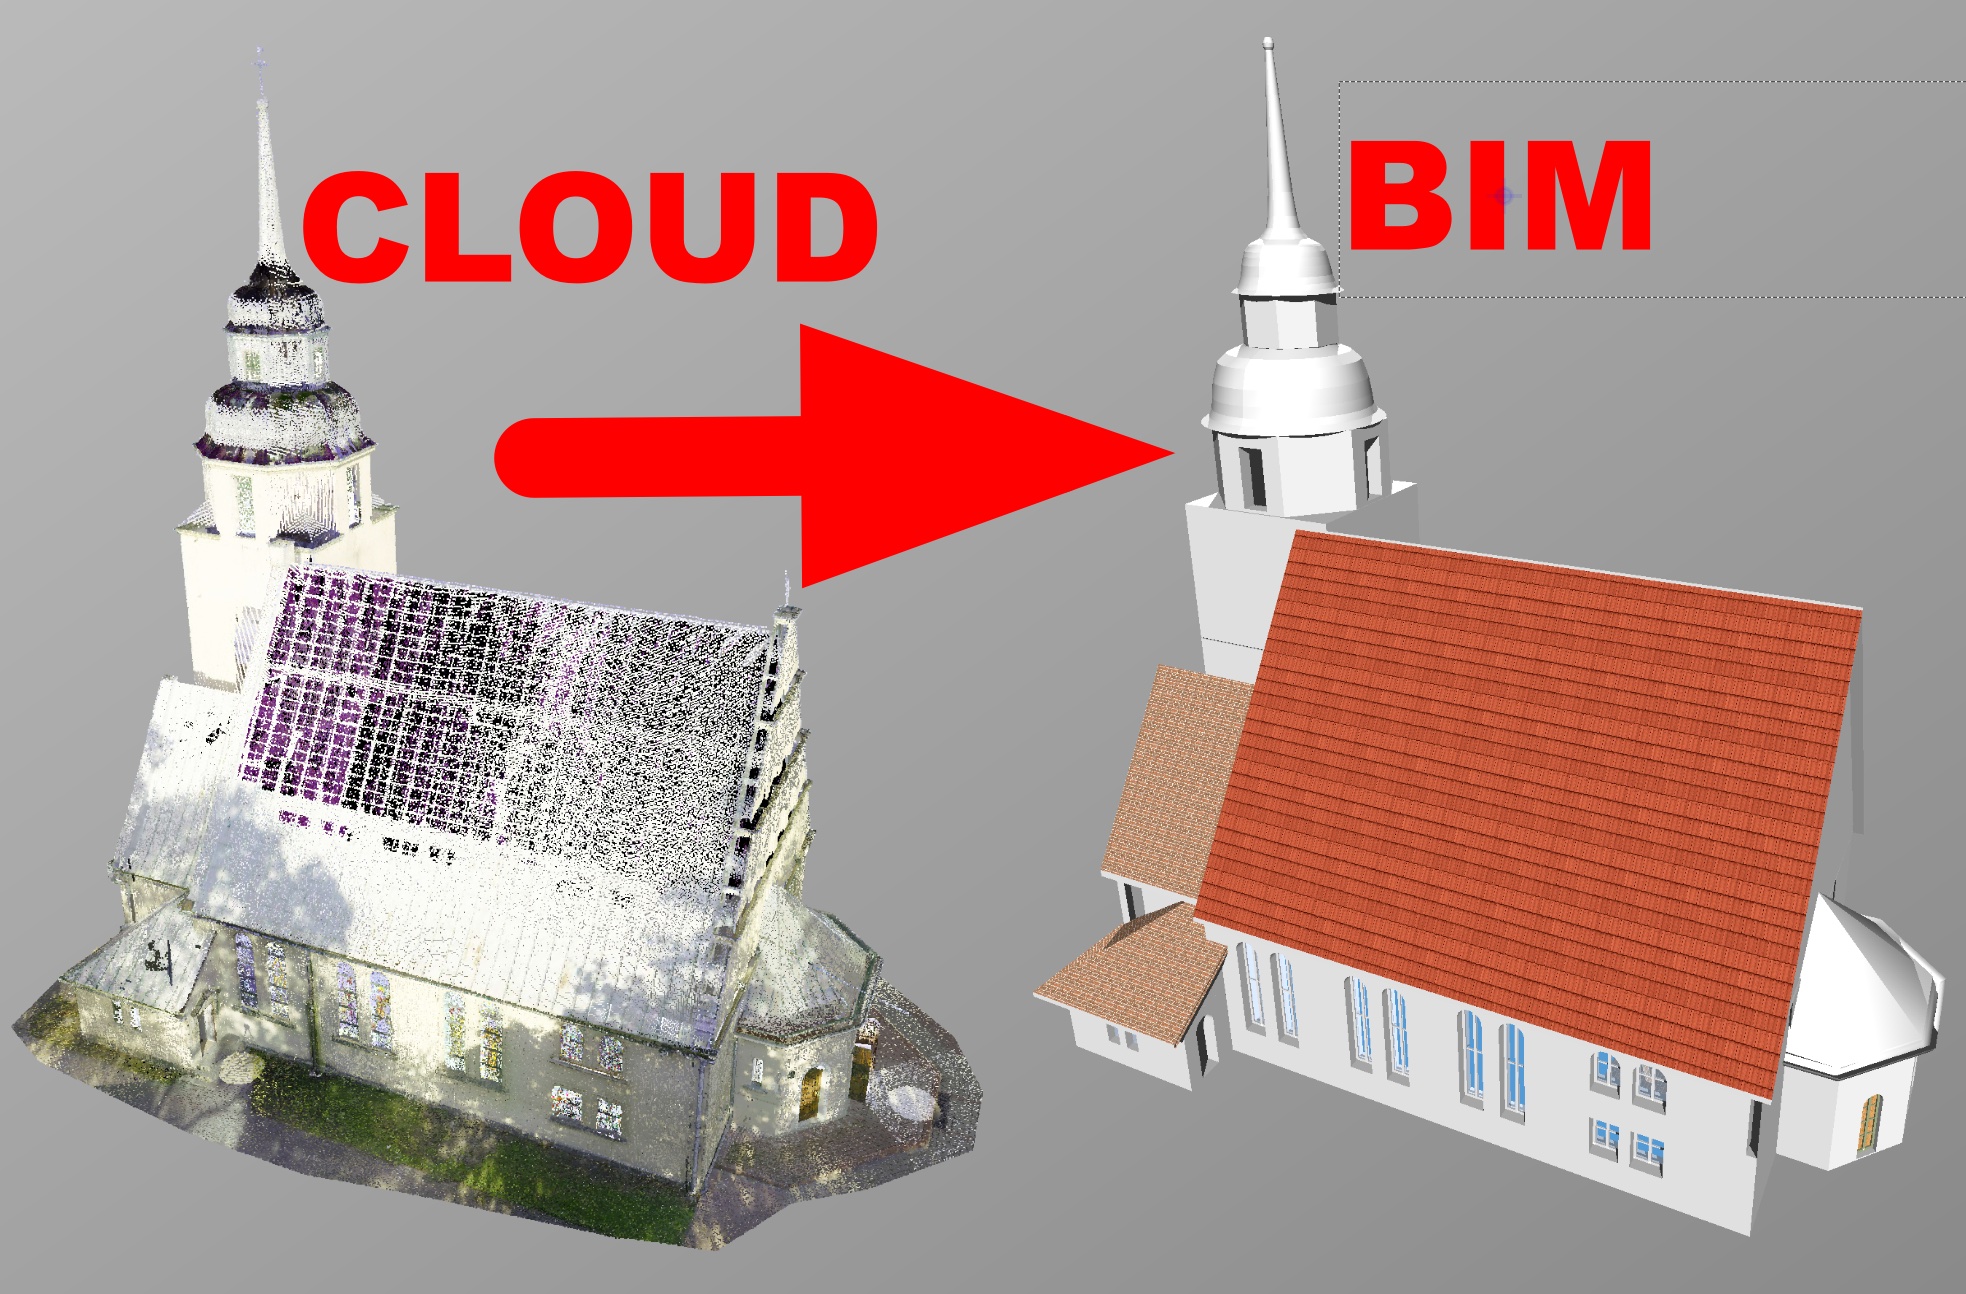
Speed does not mean only pure speed in absolute terms in the design and rendering, but also operating speed to reach the goals we set, a Ferrari is very fast, but for work it’s better a good car less fast in Monza or Brands Hatches, but much faster to achieve their goals. The practical setting of Domus.Cad already in this direction and for this we refer to the article From Point Cloud to BIM.
Domus.Cad Pro and Std still allow to speed up and optimize the management of point clouds through a series of specific features.
Filtering of points
Point clouds contain a lot of unnecessary points. For example, if a cloud has been captured by a laser scanner placed in several stations, in order to capture areas covered for any reason, there will always be areas detected by the various stations and in these areas there will be double or triple points, that unnecessarily weigh the cloud.
The density of points required depends on the type of work, architectural, topographical, detail etc.
For example, the density of one point per cm may be good for an architectural relief. For topographical survey of a terrain, even 10 cm can be good and for large-scale survey even more.
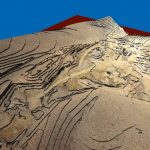
A detailed survay of a statue can require as much as 1 point per mm.
In addition to this, a point cloud always contains parts outsidethe affected area that are unnecessary.
Domus.Cad allows to control the density of points, even differently for different zones, to delete unnecessary parts. It can do this both permanently and for the time necessary to do operations better and faster.
Filtering in import
The maximum density can be defined already at the import stage by means of the minimum distance between points.

Filter setting in import
In import, the points read and actually imported according to the filter set are shown.

Import of a cloud of 228 million points
In the example shown, the original 207 million point cloud, imported with a density of one point per cm, is reduced to 21 million points, 1/10th of the original.
Filtering on imported clouds
After the point clouds have been imported they can be edited with the icon ![]() which opens the following window
which opens the following window

Operations can be performed on the whole cloud or a part of it. In this second case the part of interest is delimited by a selected polygon, inside or outside and on a range of height.
See also the video below.
The operations to be executed are:
- Deletion inside or outside the portion identified by polygon and range of heights
- Simplification inside or outside as above
Actions are performed by the Apply button, which immediately shows the result, while the Reset button returns to the original situation,
The OK button makes the choice final.
With this window open you can work normally on the program, so it is possible for example to delete momentarily a part, to isolate the area where you want to intervene, perform the necessary operations and then cancel to return to the original cloud.
Delimitation with the cutting planes of the camera
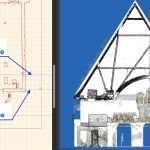
The cutting planes of the camera can be moved to delimit the part of the cloud of points where we want to operate.
The minimum cutting plane removes all points before it and the maximum cutting plane eliminates all points after it.
The two planes are represented in plan with lines that can be moved with the mouse, they cut the model continuously and interactively, as if it were a kind of CAT.

This way a cloud can be sectioned to see the inside or delimit a part, for example an elevation, by cutting all that before and after.
Work with images
Domus.Cad has a complete image management, such as resolution, contrast, brightness and speed, and this management is also very useful for working with point clouds.
In the Cloud panel you can set the view to show only the part of the model below the cloud sectioning plane.
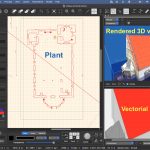
By setting an axonometric view from top, you can copy the high-resolution view to a layer. The image is exactly superimposed on the plan section, you can zoom in to make every single pixel visible and work on it very smoothly.
Using the cut-off planes, as described in the previous chapter, it is possible to generate high resolution sections and outlines, which can be copied into a layer for vector processing.


