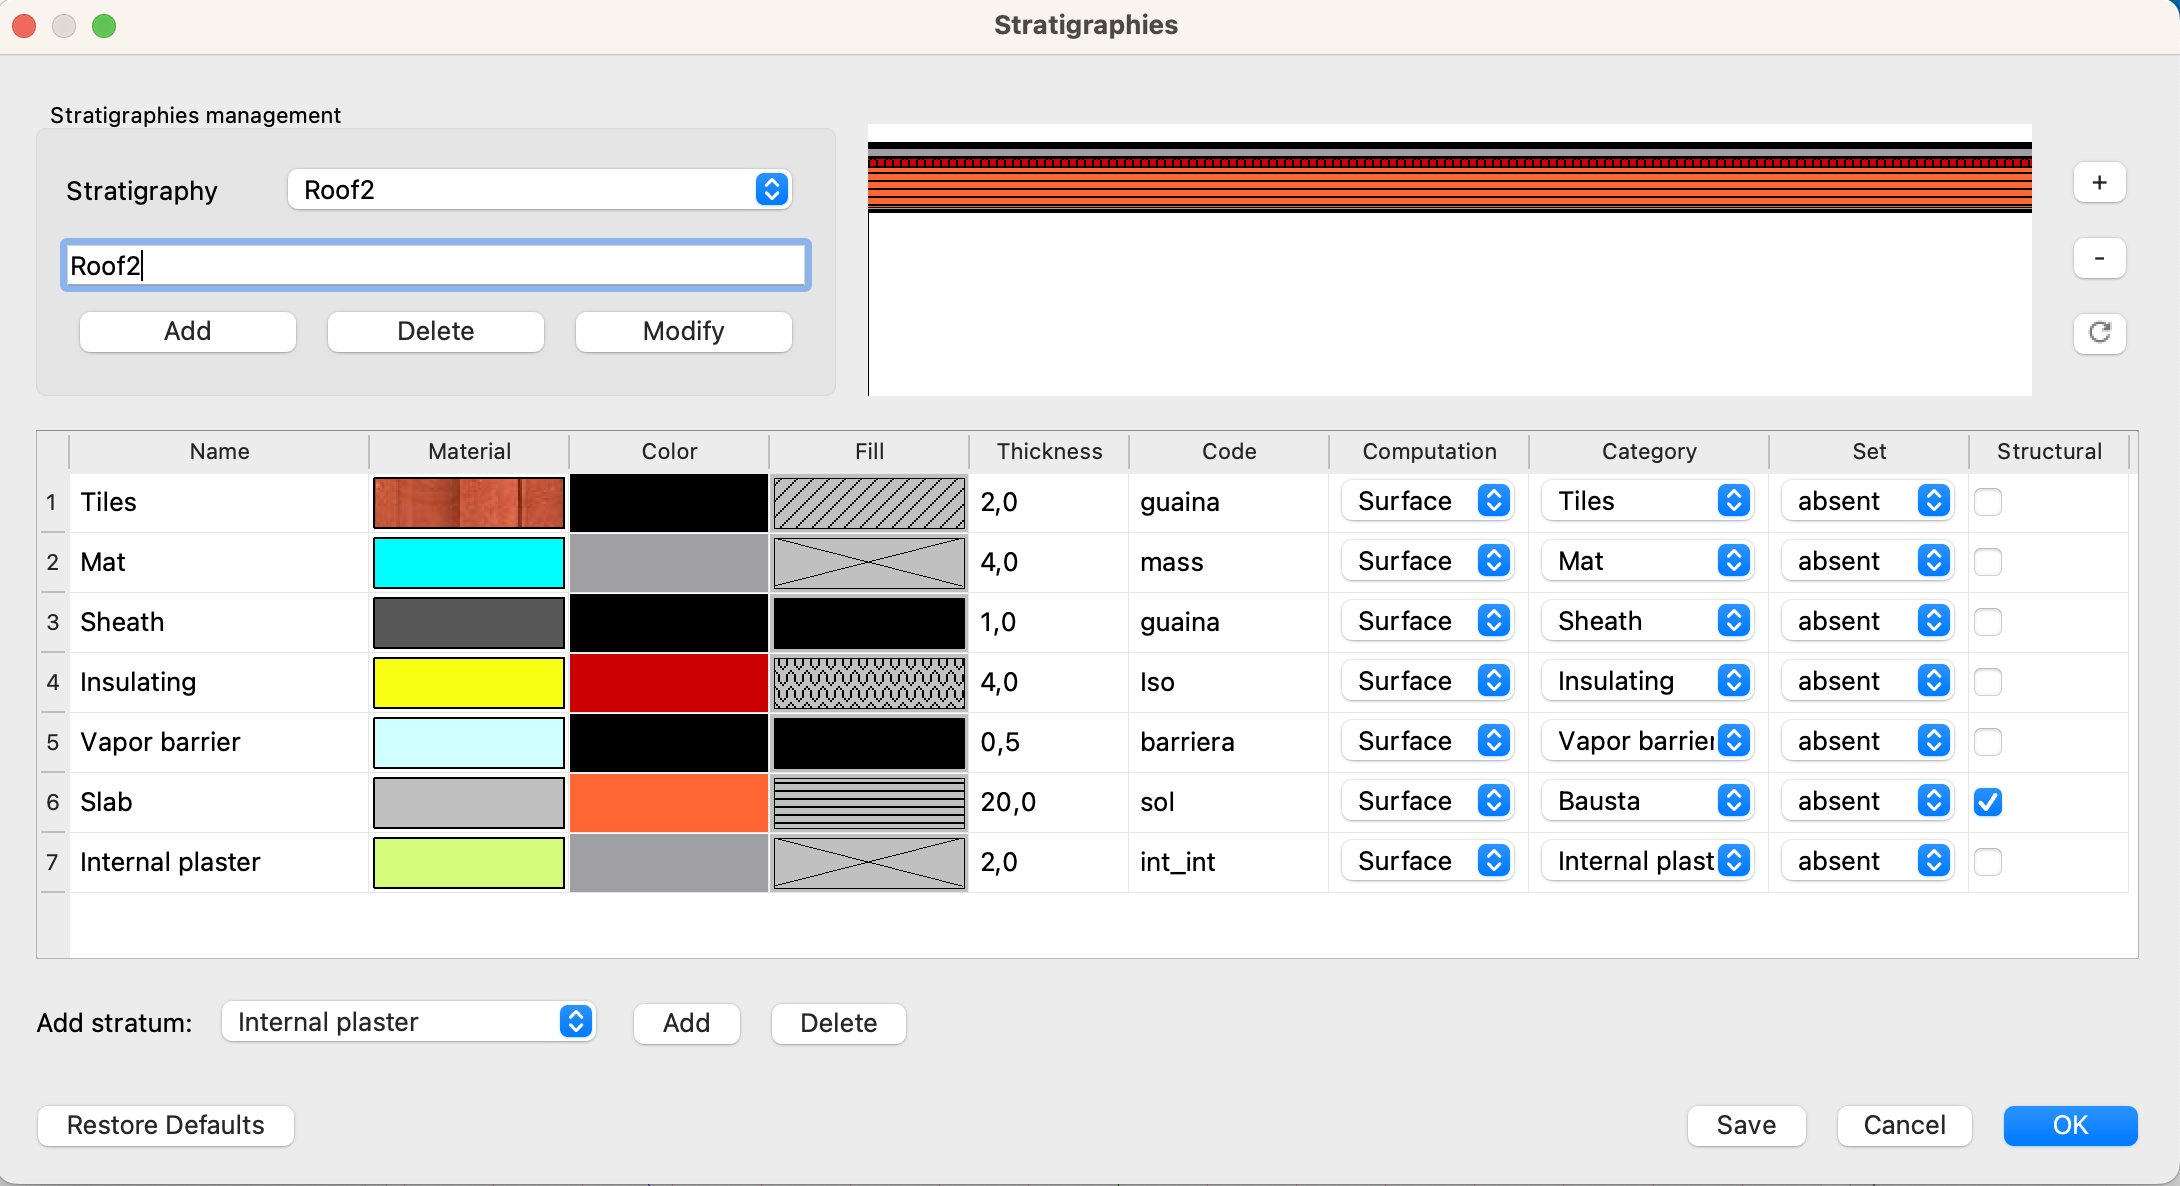
Stratigraphies describe the composition of a wall, floor or roof, dividing it into components, i.e. strata.
The strata
Through the Strata command from the Modify menu, the dialogue window for defining the preferred strata opens.
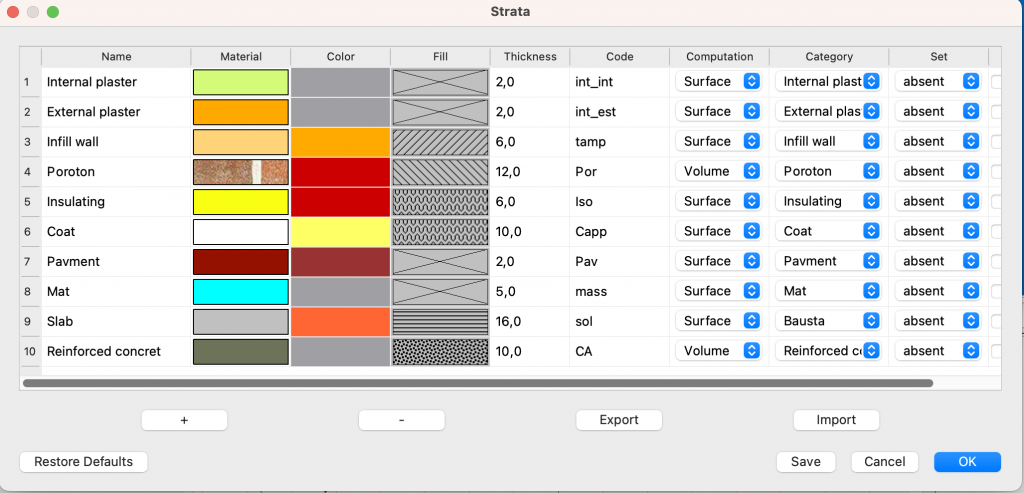
Each stratum is defined by a series of descriptive, graphical and numerical parameters:
- The name of the stratum
- The 3D material
- The color and the fill to be used in the planimetric representation
- The thickness
- The code, the type of calculation and the category, useful for the quantities calculation
- The set, for further user information
- Whether it is a structural component or not
It is not strictly necessary to define the layers to compose the stratigraphies, the layers can also be defined later, but having a list of preferred layers speeds up the definition of the layers.
Stratigraphies
The management of the stratigraphies takes place within the dialogue window of the stratigraphies, which can be recalled with the command Stratigraphies from the Options menu.
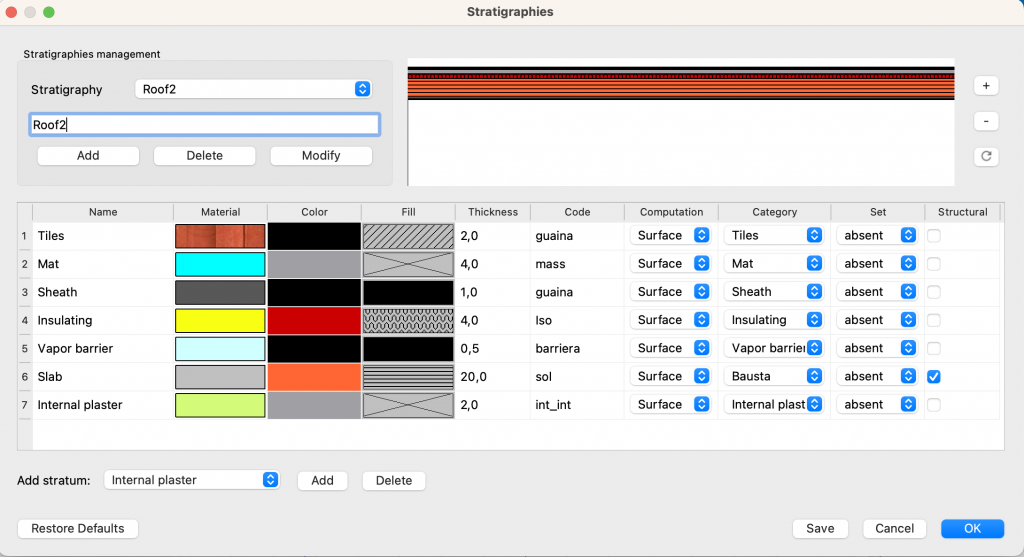 In this window it is possible to create, edit and view the stratigraphies.
The Stratigraphies menu at the top shows the list of stratigraphies present. Here it is possible to add, delete and modify the list of stratigraphies.
On the right you can see the graphic representation of the stratigraphy chosen from the menu or during the composition phase.
The table below shows the stratigraphy chosen from the menu or composed.
Add Stratum displays a menu with the preferred strata set in the strata dialog. By clicking on Add, the current stratum is added to the list of strata in the table, but it is also possible to insert and modify strata other than the preferred ones.
The Delete button deletes the selected strata from the table.
The position of the strata in the table can be changed by taking the rows corresponding to the order number and dragging them to the desired position.
 To correctly display the stratigraphy graph after a modification of the order of the layers, it is necessary to click on the button
 ![]()
Application of stratigraphies
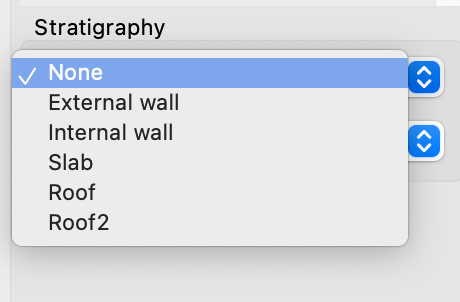
Stratigraphies can be applied to walls, floors and roofs from the relative panels by choosing them from the Stratigraphy menu
The stratigraphy of the walls can be represented in plan and in print according to the plan parameters options.

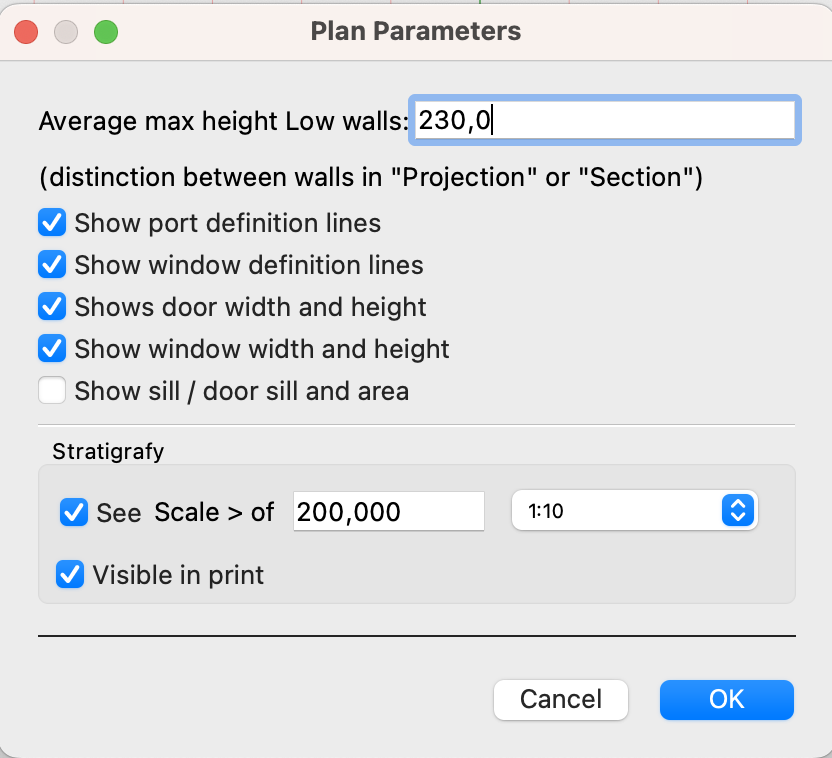
If the View option is activated, the stratigraphies are displayed if the video scale is greater than the one indicated.
If Visible in print is deactivated, the stratigraphies are not printed even if they are visible on the screen.
As for the walls the layers are placed with the last layer being considered the inner layer and the first the outer layer.
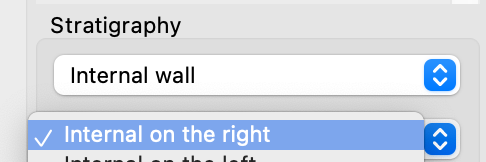
By default the stratigraphy is positioned starting from the right side of the wall, with respect to the 1-2 direction.
This direction can be reversed with the menu in the walls panel:
Editing nodes
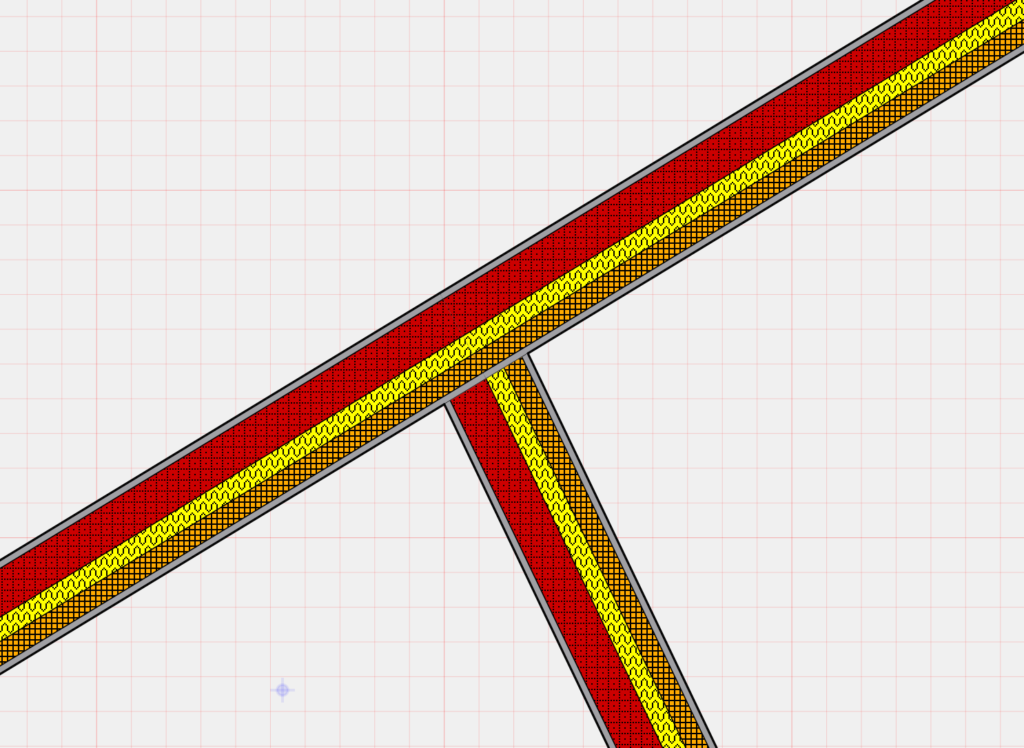
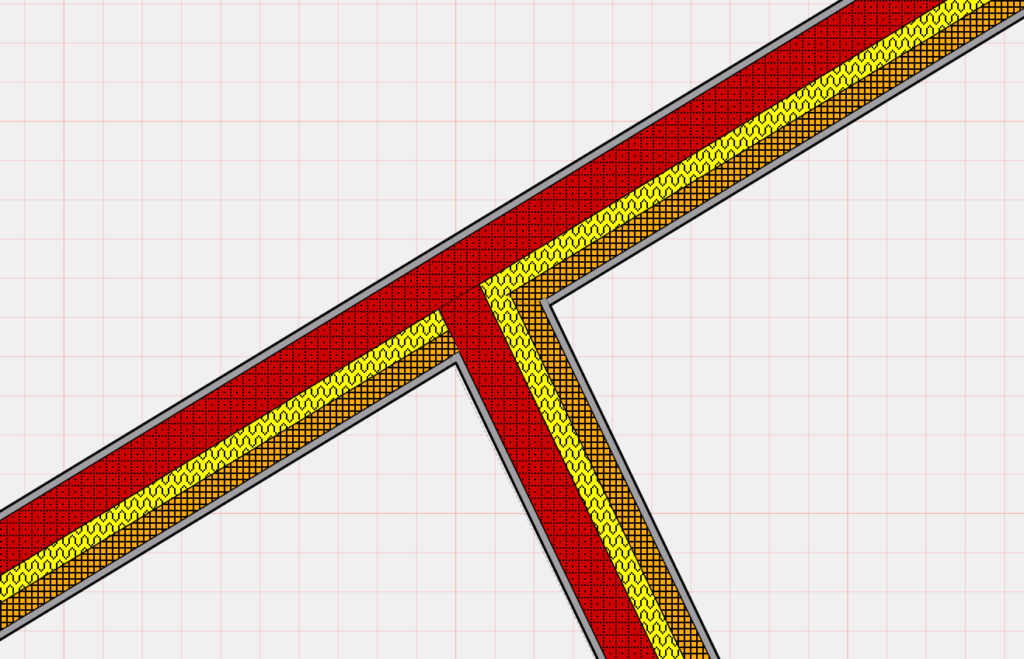
On the connection nodes between the walls the program creates default connections which may be incorrect.
It is possible to modify them manually by modifying the polygon that encloses the stratigraphy.
The stratigraphy of the walls is placed within a polygon associated with the wall and which initially corresponds to the shape of the wall.
This polygon can be selected by clicking on it with the associated polygon tool.
Once selected, nodes can be moved, new vertices added and vertices deleted, with the standard polygon tools.


Quantities calculation
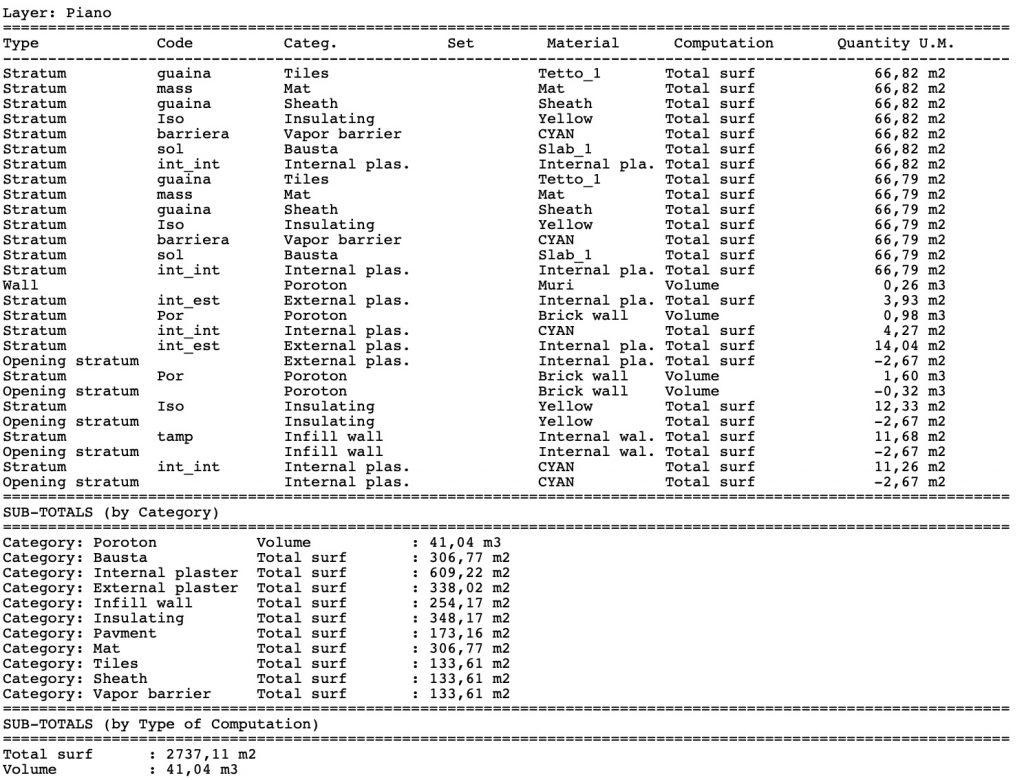
The strata can be accounted for in the bill of quantities according to the type of quantity and the categories indicated.
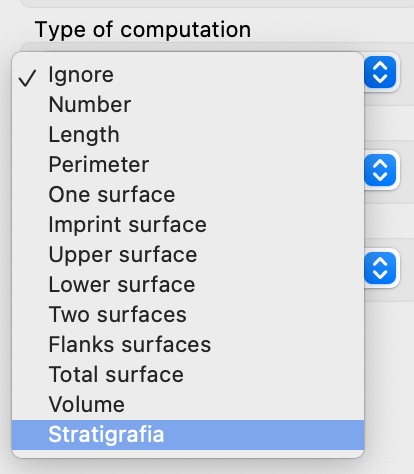
In order for the content of the stratigraphy to be considered, the type of accounting indicated on the wall or floor must be Stratigraphy
otherwise the element will be accounted for as a whole and the stratigraphy will be ignored.


