The most important novelty of the new version 24 of Domus.Cad is the point cloud management integrated with the BIM design.
Domus.Cad also had the ability to import and display point clouds in previous versions, but this management was separate from the rest of the project. Now point clouds can be imported and managed together with other BIM elements, such as walls, stairs, roofs, openings, slabs, roofs, etc.
With point clouds all operations can be performed as with other elements, such as rotations, displacements, deformations, deletion and more.
Import
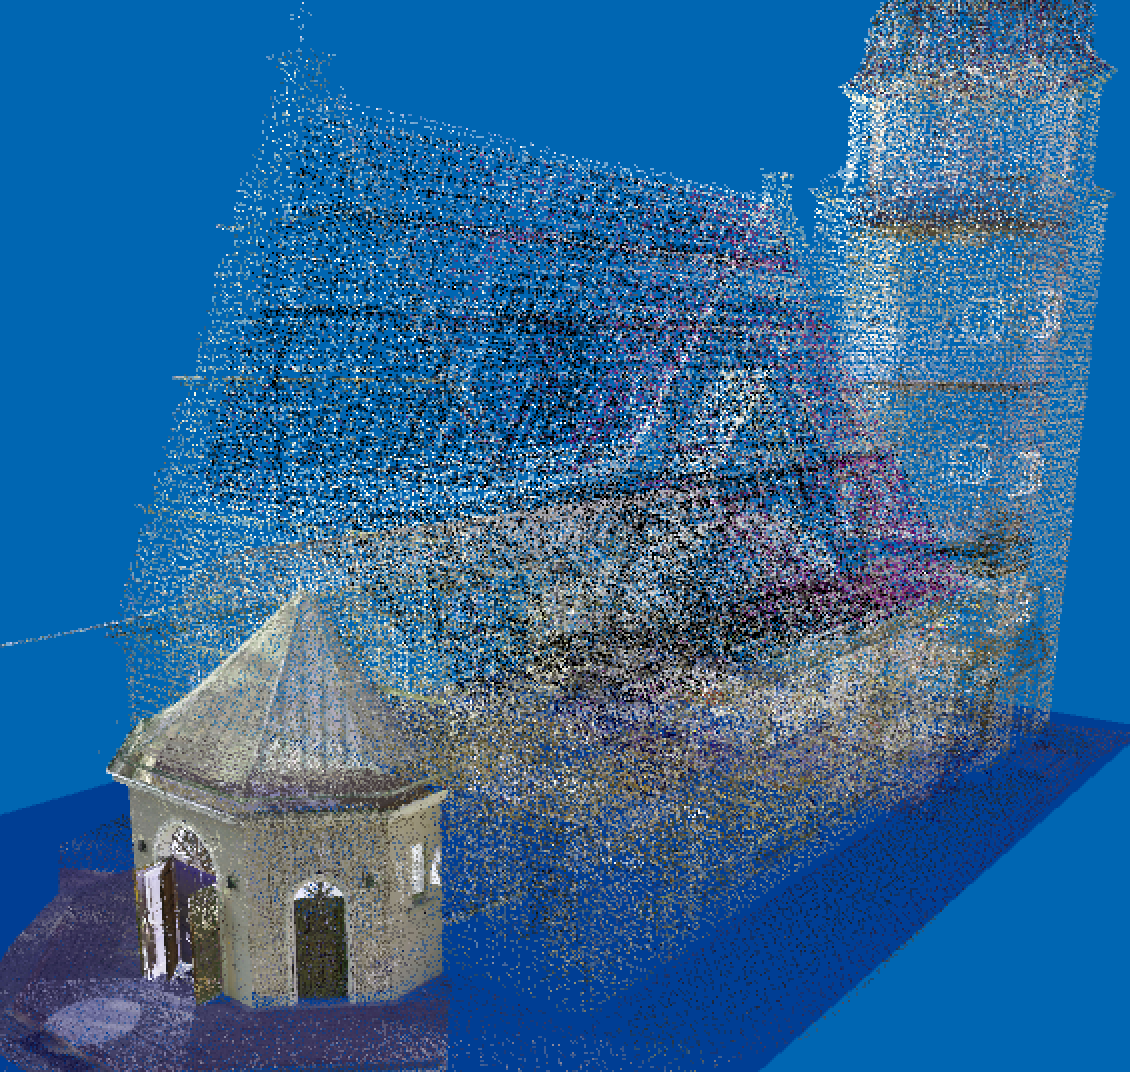
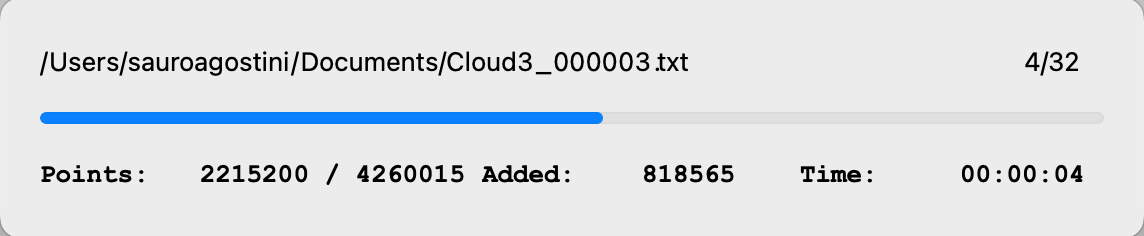
Point clouds can be imported in various formats, also formed by multiple parts.
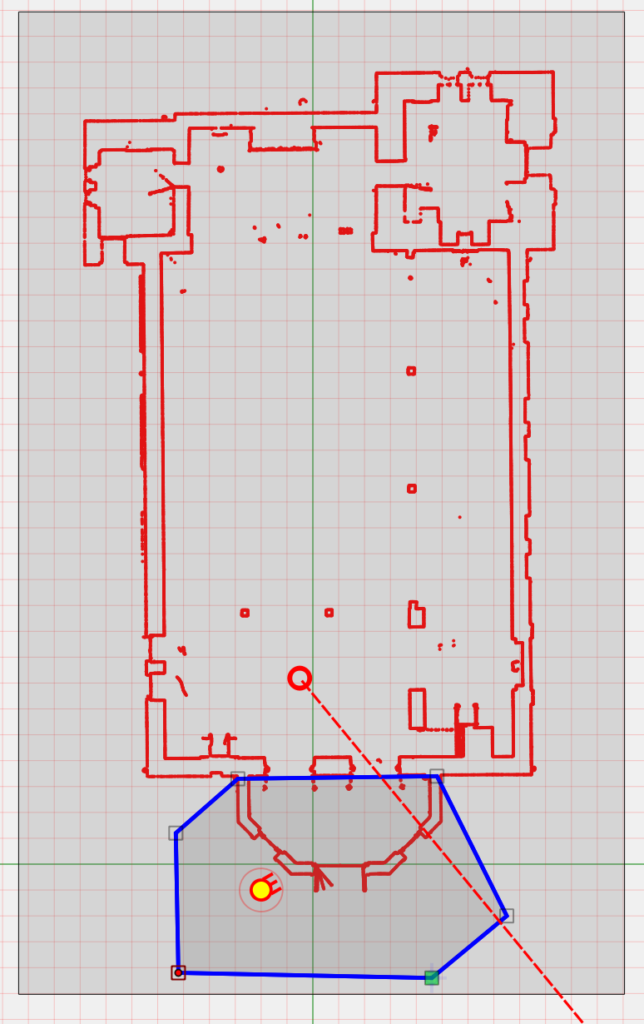
Automatic sections
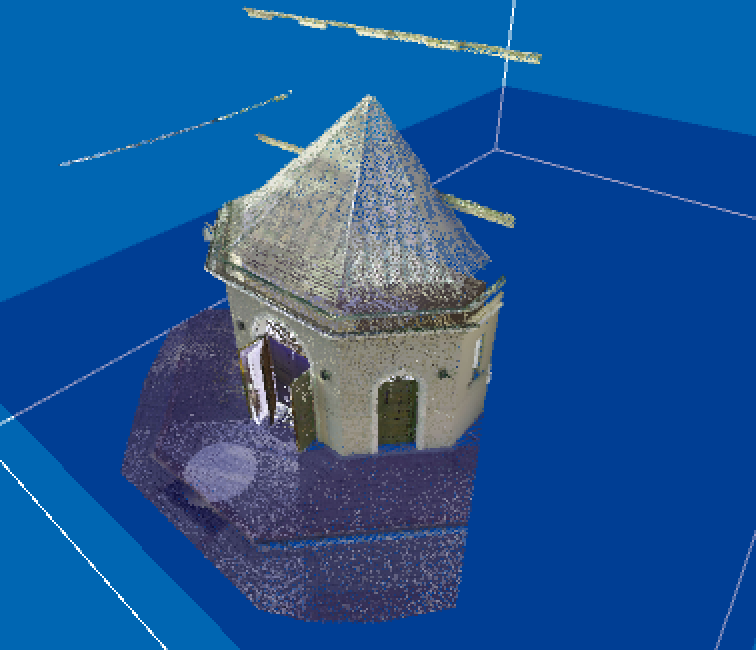
As soon as they are imported, they are displayed in 3D view and in plan through automatic sections for each layer.
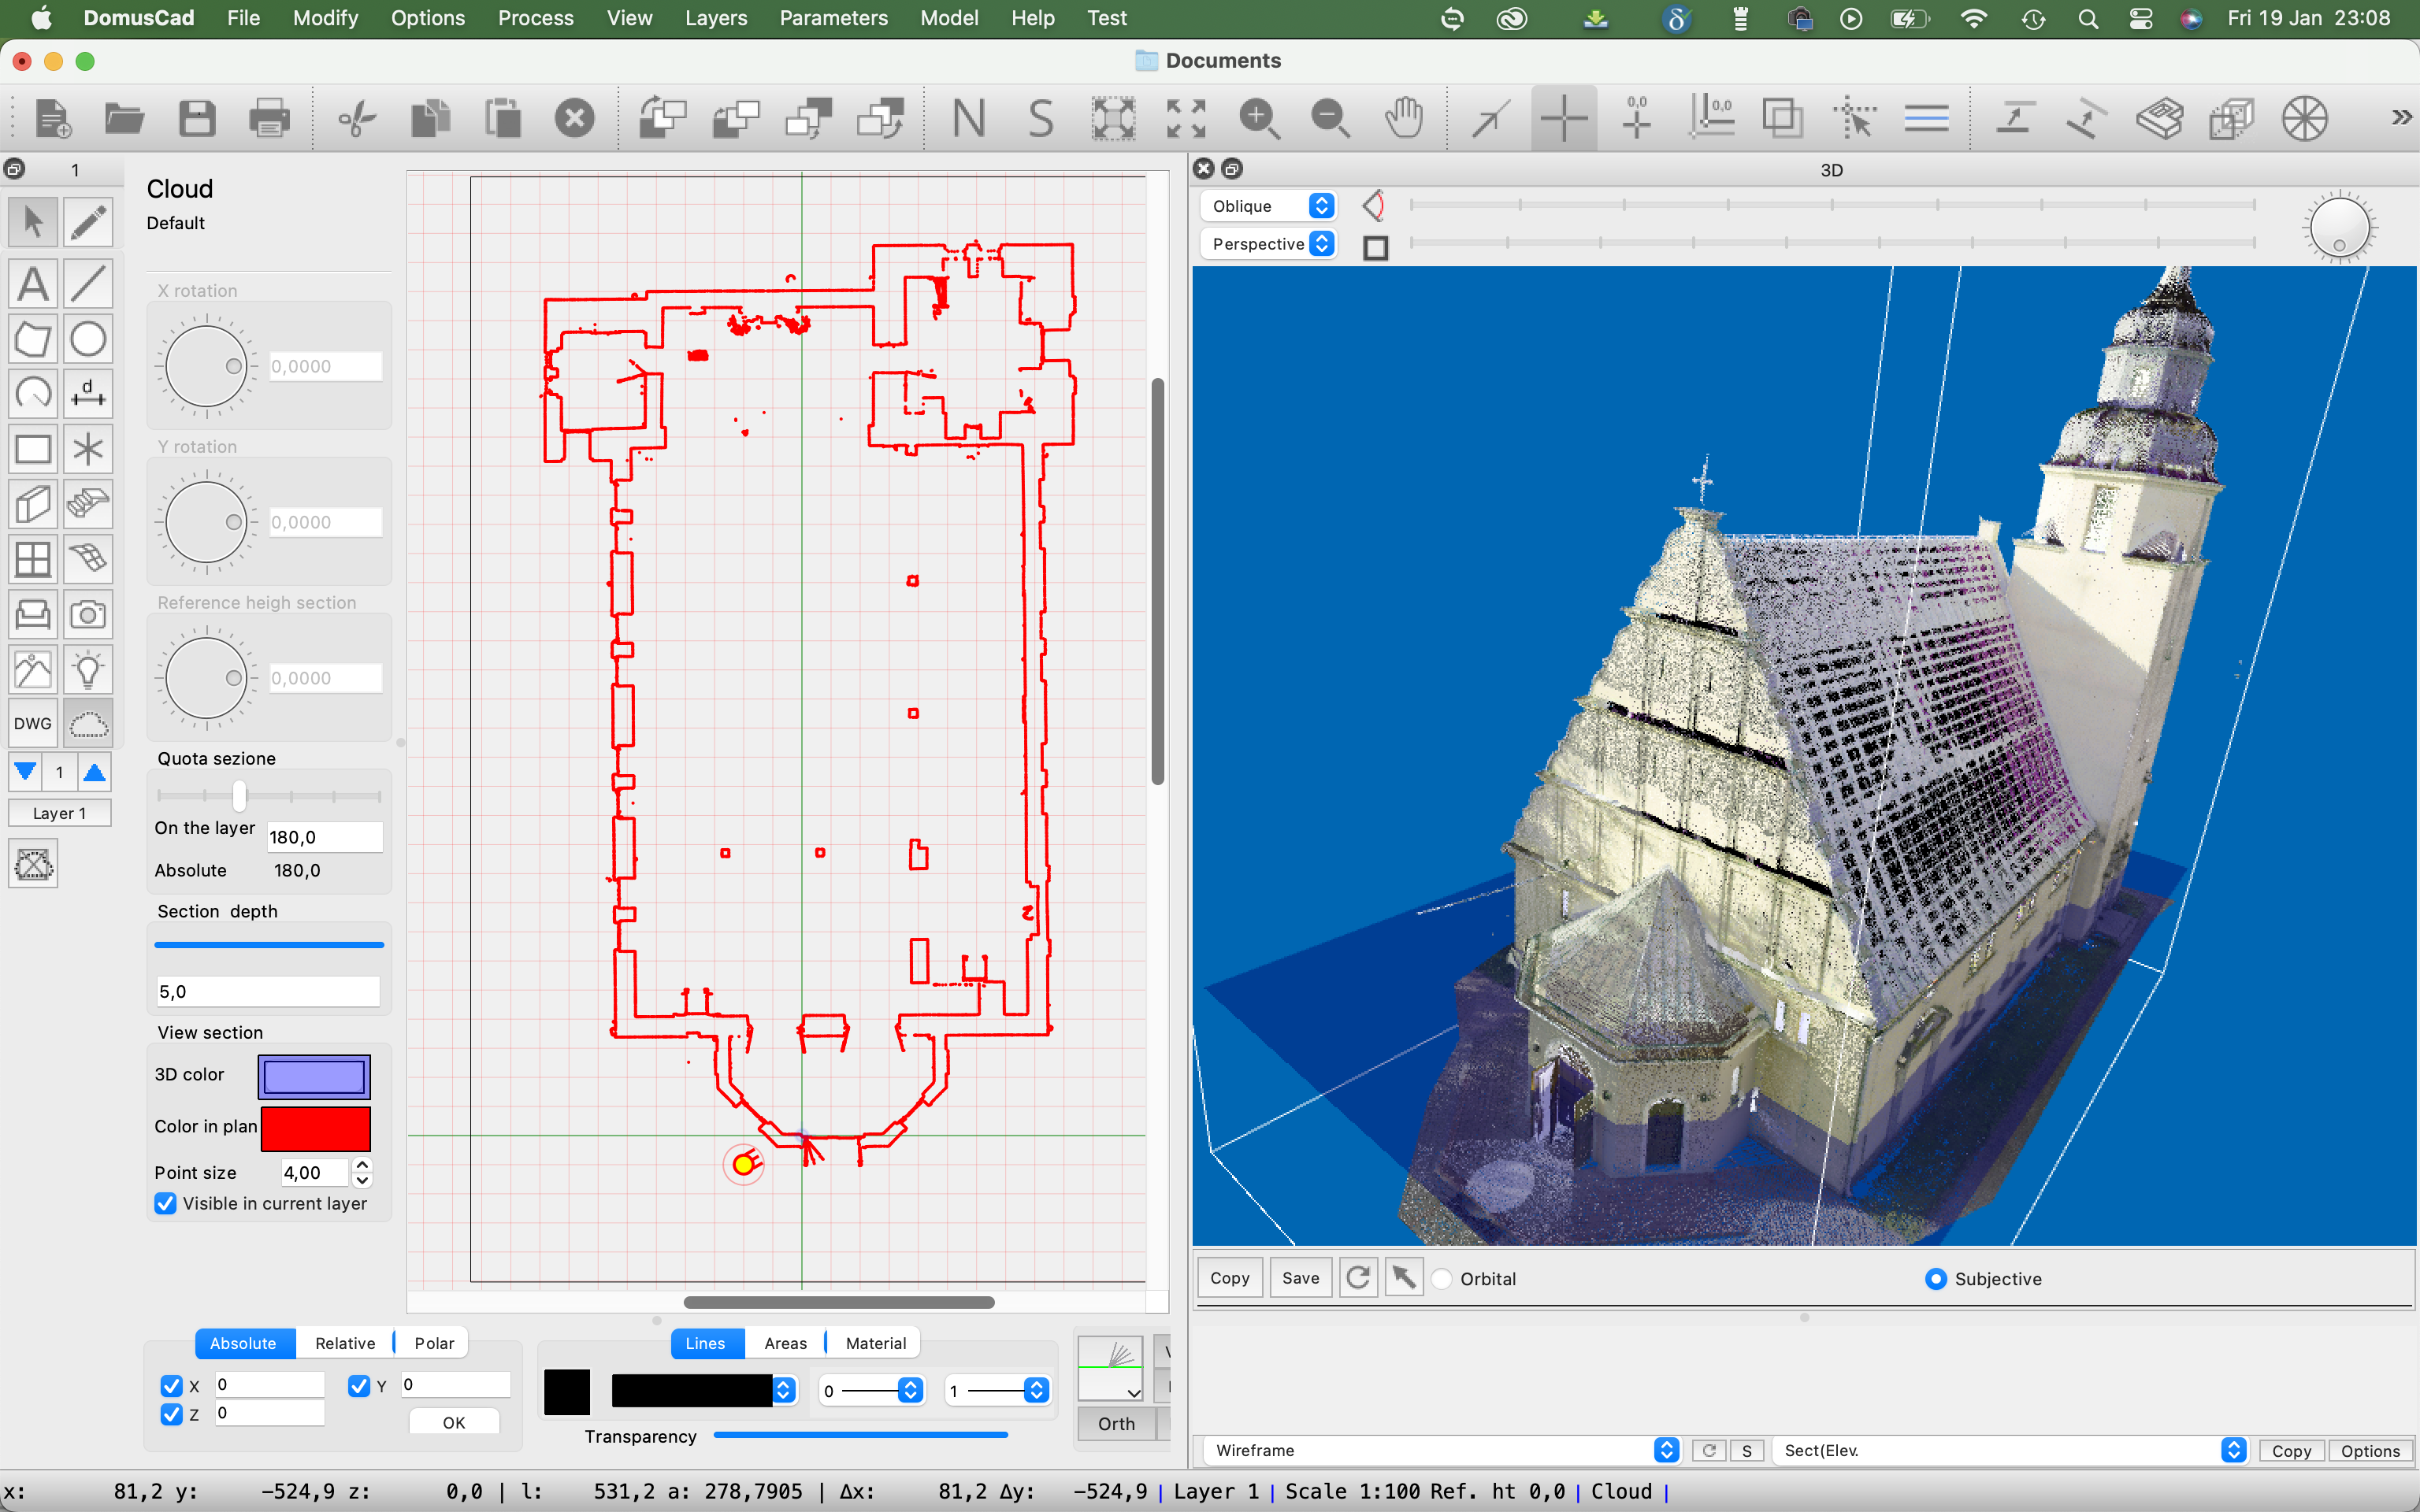
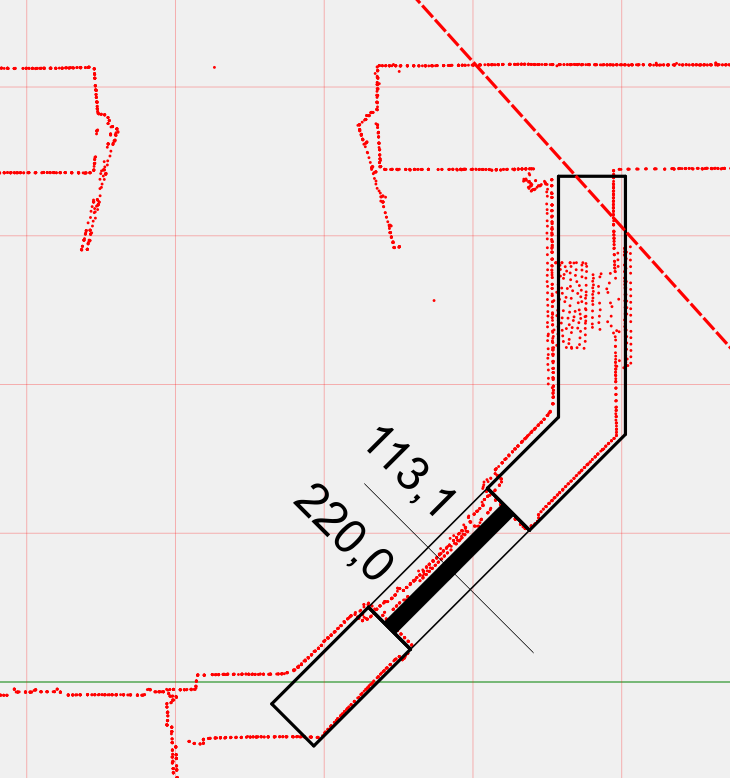
On the section can be inserted elements such as walls and windows.
Automatic sections can be moved interactively to choose the best location.
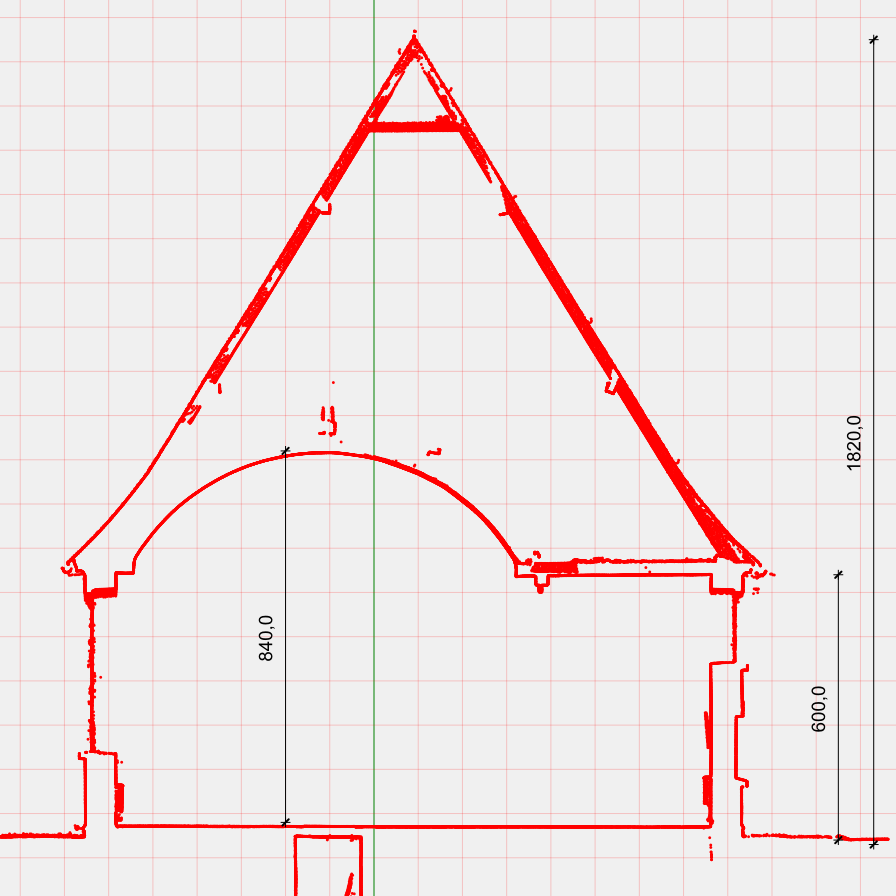
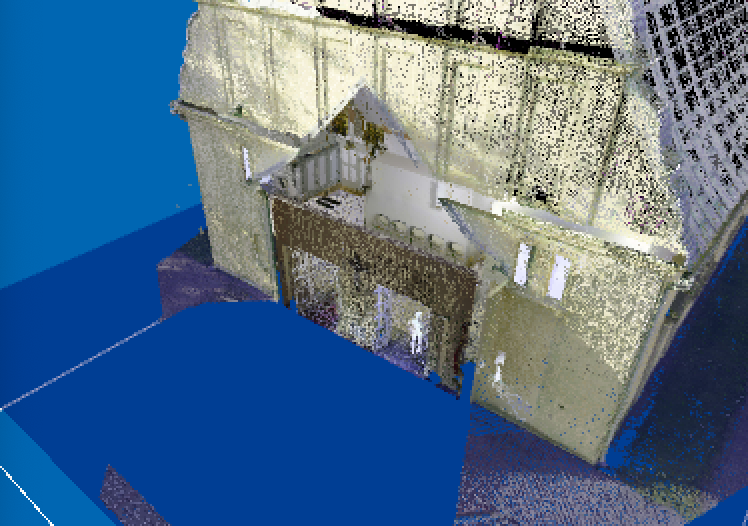
Vertical sections
By rotating the cloud of points 90 degrees you get vertical sections in real dimensions.
Architectural elements in the cloud
On the section can be inserted elements such as walls and windows.
The architectural elements are also visible in the 3D window, superimposed on the cloud of points, with an immediate verification between the inserted elements and the survey.
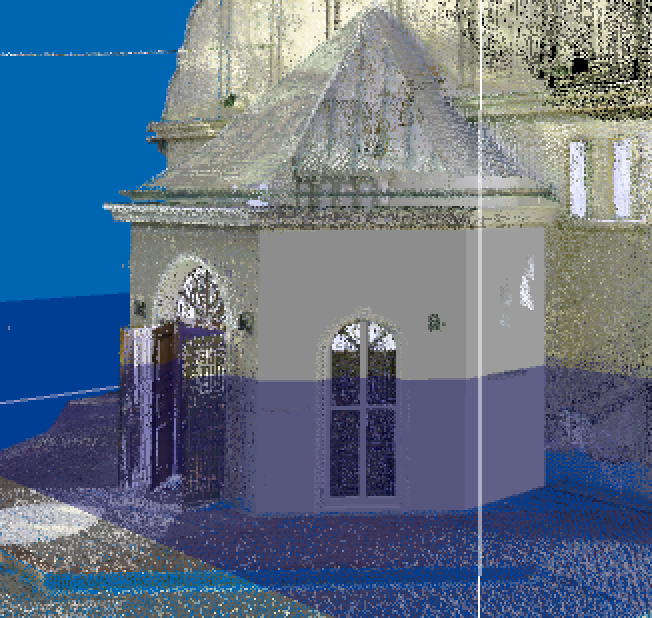
The immediate overlap of the BIM elements to the point cloud allows an immediate comparison between survey and design, immediately highlighting the inconsistencies.
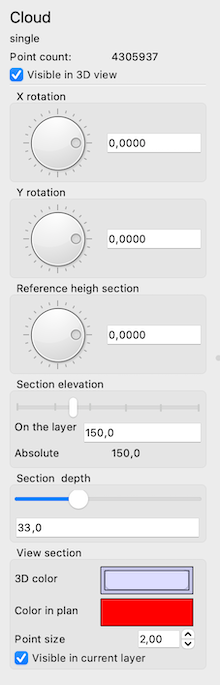
Cloud Panel
Point cloud management is mainly done from the Cloud panel. The panel is activated by clicking on the Cloud icon in the elements palette
Deleting points
The points that make up a cloud can be completely erased or simplified.
The deletion takes place inside or outside a volume, defined by polygons, circles or rectangles and the difference in altitude.
The simplification happens through the decrease of density, always outside or inside of a volume as above.
To obtain the deletion you must select a Cloud element and, eventually, the geometric figures that serve for the deletion.
By clicking on the dot deletion icon, the dialog appears with the various options
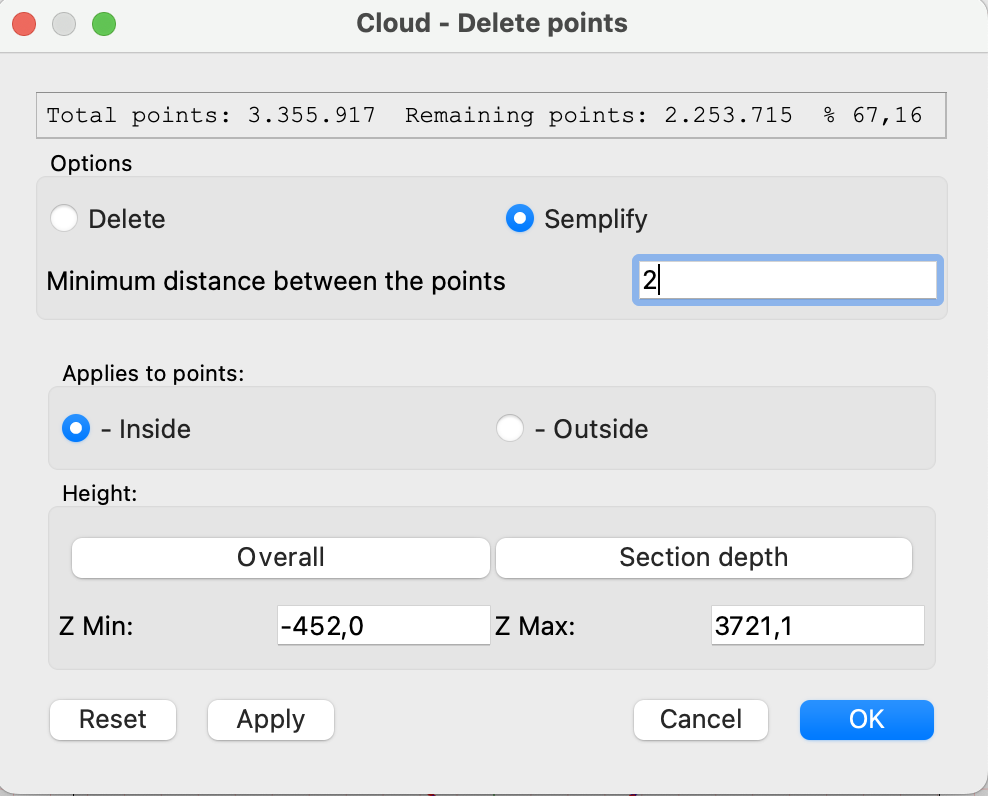
The complete deletion of points can be internal or external to the selected geometric figures, if the option Delete is enabled.
If there is no geometric figure, the deletion occurs over the entire cloud between the set heights.
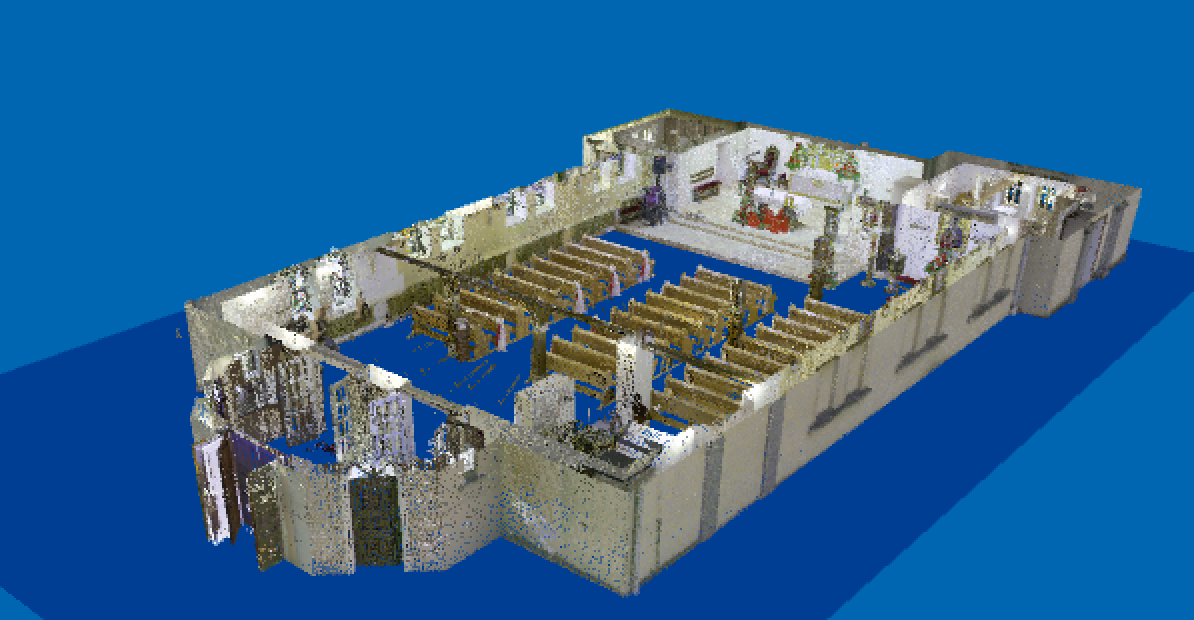
In the example below, all points have been deleted except those of the apse with the option External.
In the following case, however, through the option Interiors, the points of the apse were deleted from the church.
In the following case an interval in height has been defined, so as to see the interior of the church.
The simplification is done by deleting all the points closest to each other of the minimum distance, thus decreasing the density of the points of the cloud.
Also here the erased points can be external or internal to geometric figures or within a range of heights.
For example I can leave all the points of the important part and decrease those outside, to give an idea of the entire survey.
In the figure below the apse was left with all its points, while the density in the rest of the church was decreased.