In Domus.Cad images are now part of the design work and are used in many ways, so there are many functions for their treatment. The images can concern technical drawings, photographs, diagrams, texts, maps, symbols and much more.
Importing images
Domus.Cad supports almost all formats, here is a non-exhaustive list: bm, cur, gif , heic, heif, icns, ico, jp2, jpeg, jpg, pbm, pgm, png, ppm, svg, svgz, tga, tif, tiff, wbmp, webp, xbm, xpm, pdf.
The images are used in the work window, as area fills and as surface textures in 3D. In this article we deal with the first case.
The main import methods are: copy and paste, drag and drop and import of image files.
There are also other ways, for example the images can also be imported into a DWG or DXF file.
Copy and paste
Let’s take an example of copying and pasting from a WEB page.
Inside a Wikipedia page containing a plant, right-click on the image choosing Copy image.
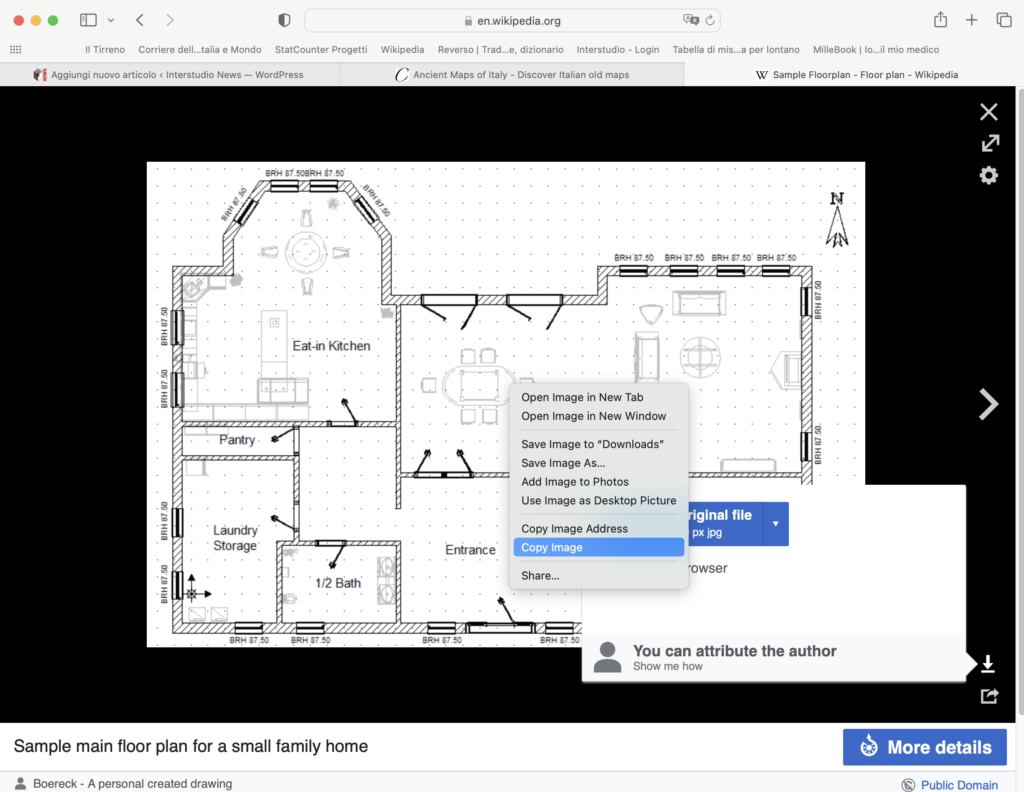 Inside Domus.Cad, click somewhere in the window and then execute the Paste command.
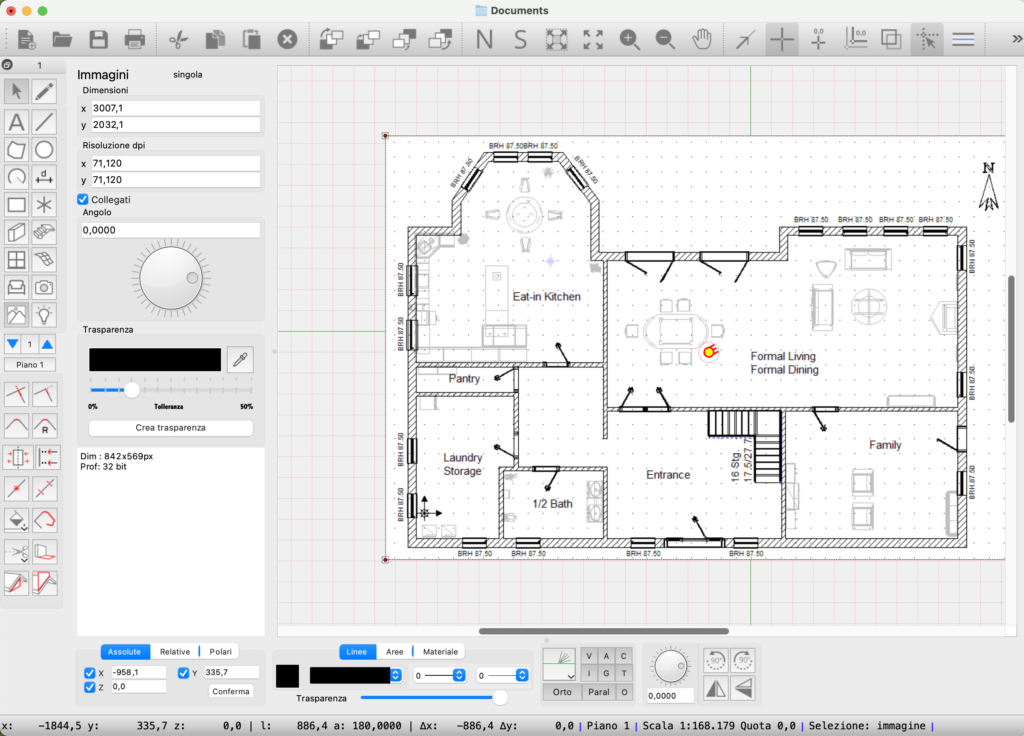
The image is pasted into the previously clicked location.
Opaque or transparent background
Imported images can have an opaque or transparent background. Some formats, such as PNG or PDF, may contain transparency, others may not.
The imported image in the example above has an opaque background and we can make it transparent, so that we can see it as a vector drawing and overlay it on other elements of the drawing.
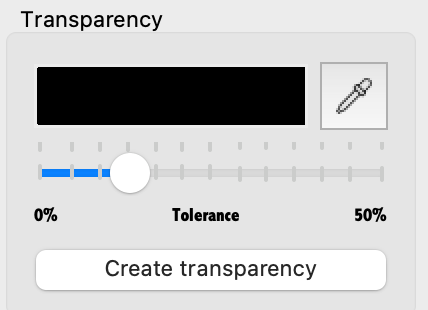
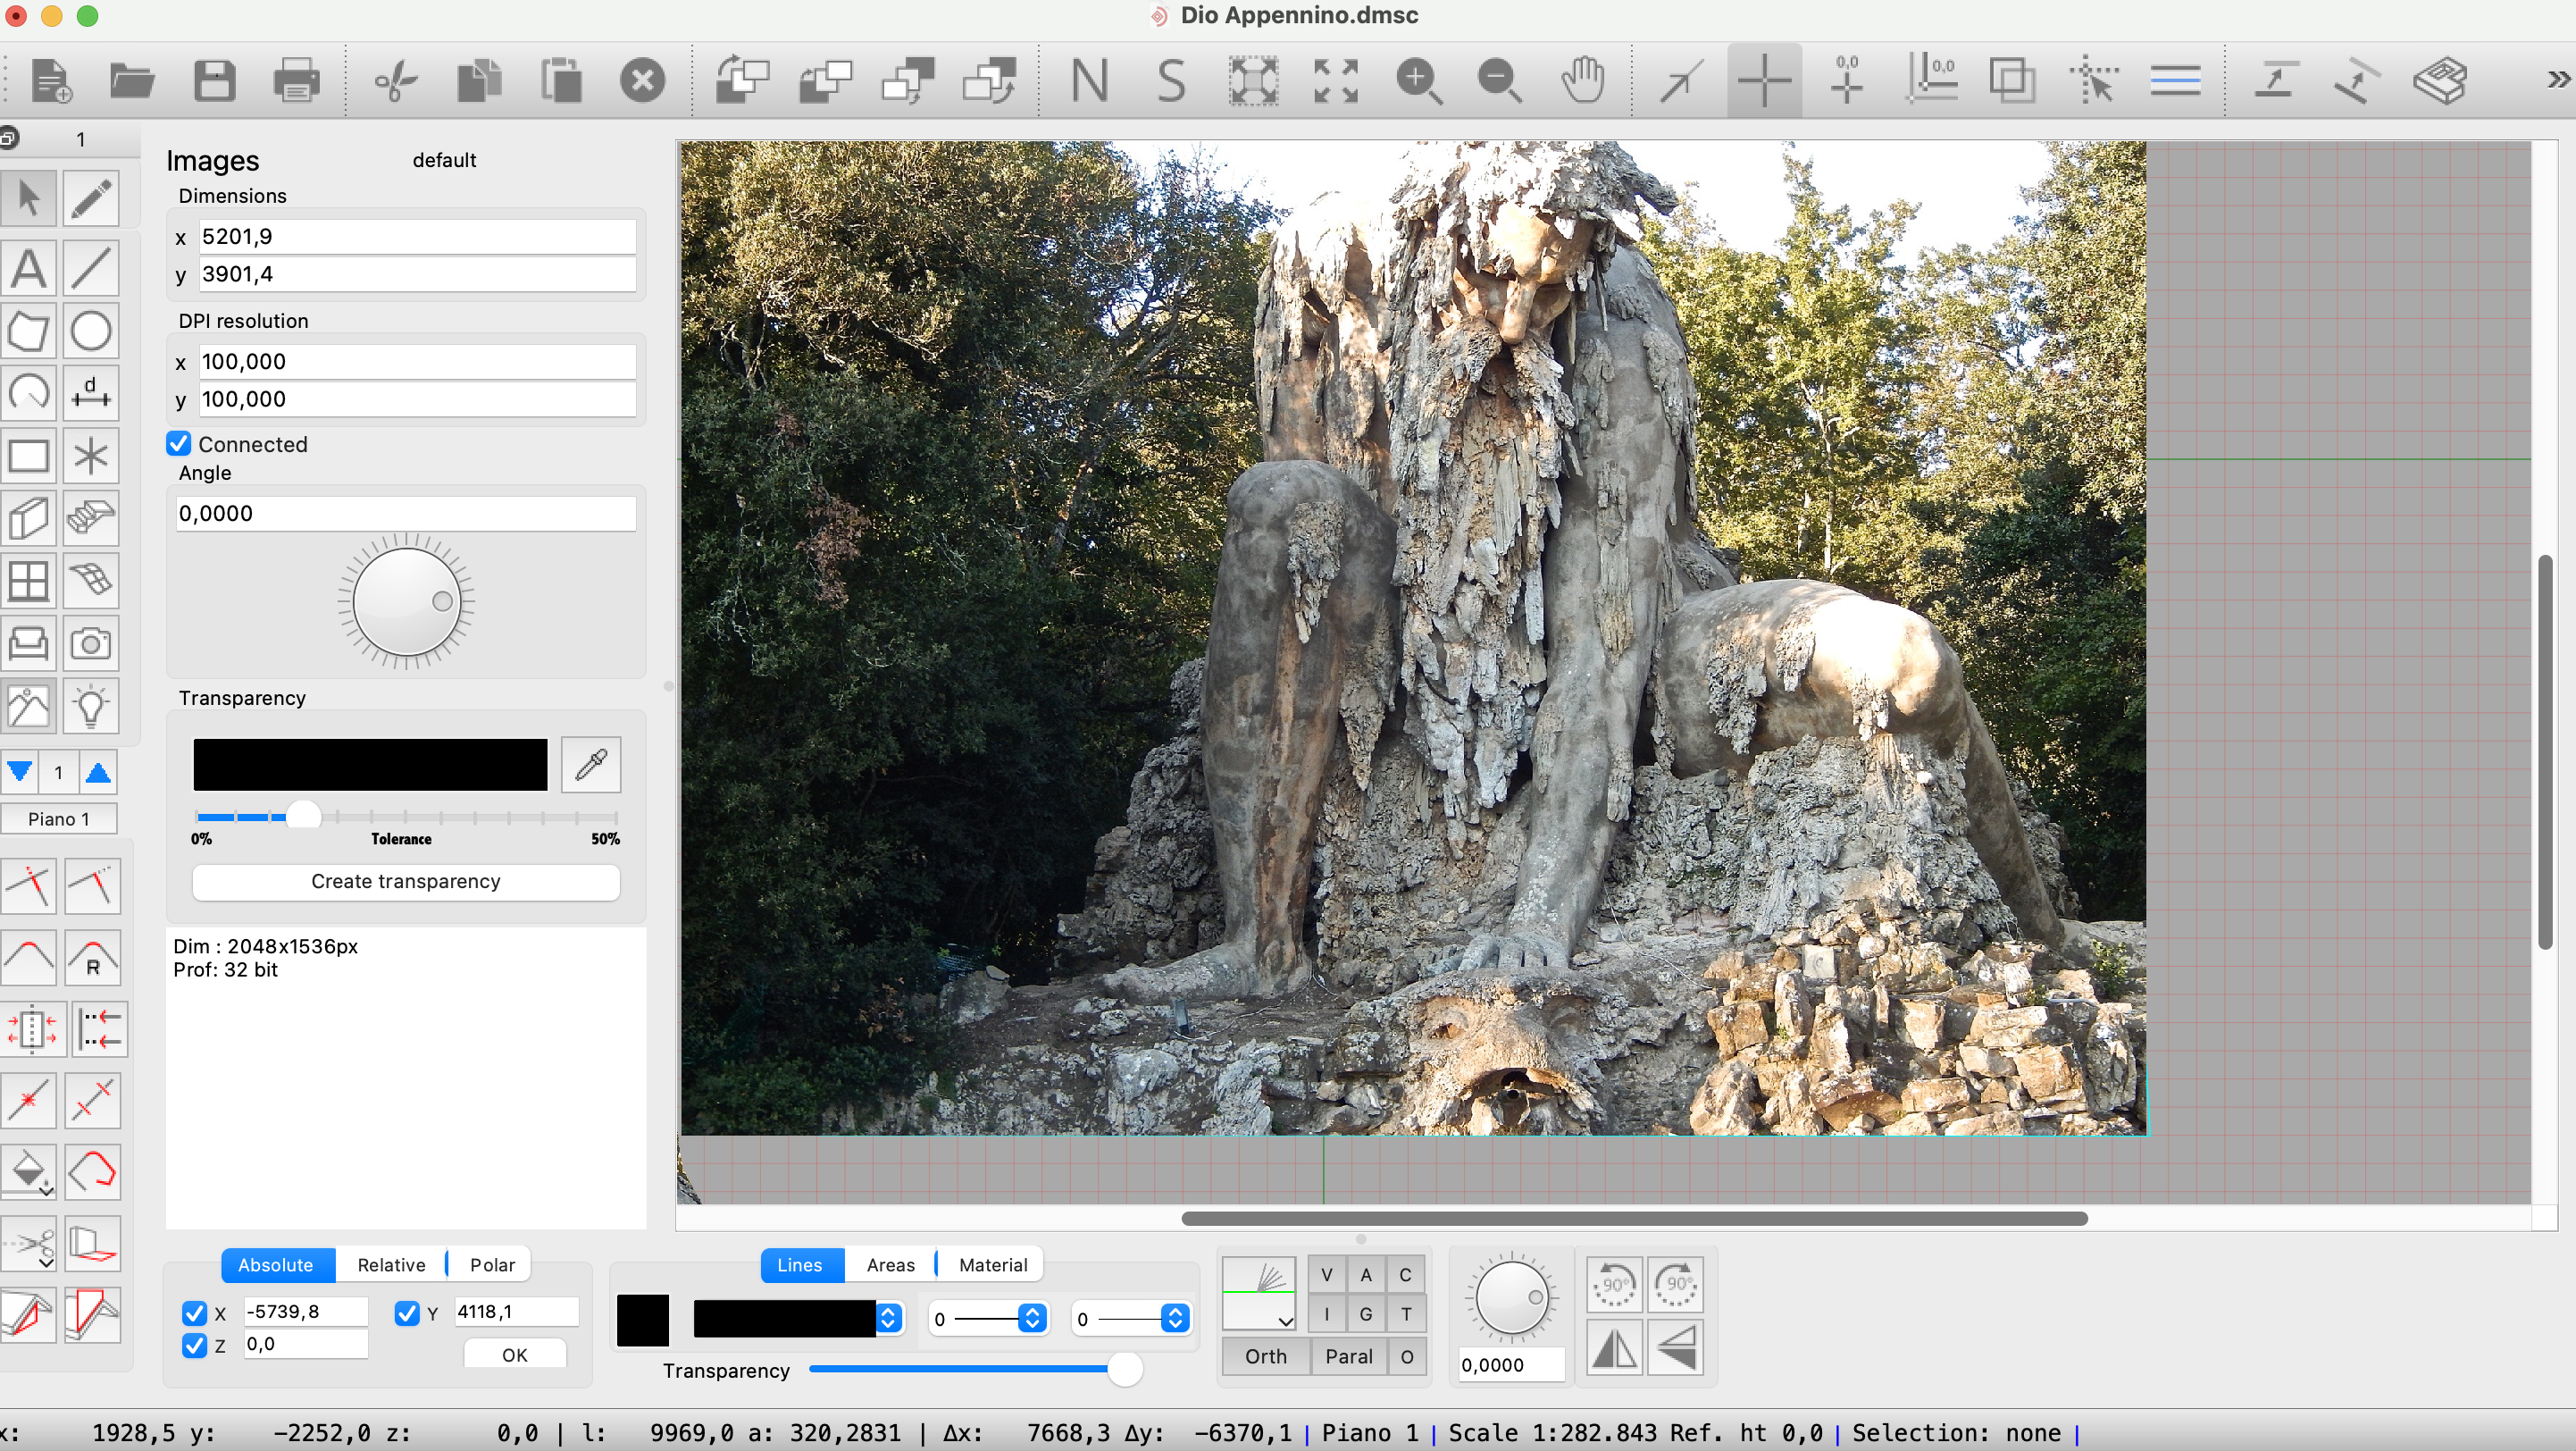
In the image panel we click on the get color icon and click in the selected image in an area of the background.
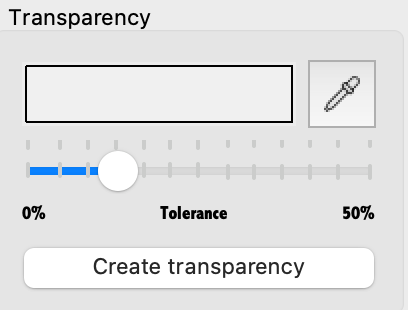
After clicking, the background color to be used as transparency appears.
After clicking on Create transparency the image looks like this, with a transparent background.
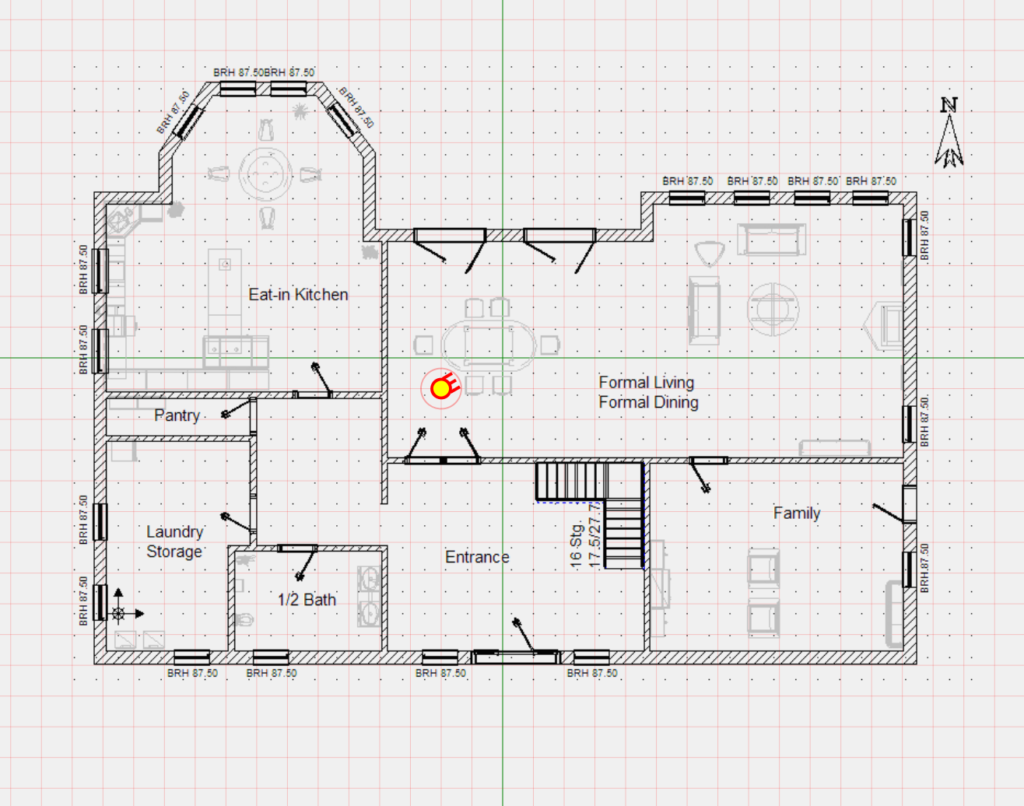
Image scaling
Images imported this way do not have a resolution control and therefore can be off scale, but it is very easy to scale correctly if you know at least one image measurement. The bathroom, which should be 375cm, turns out to be 475cm

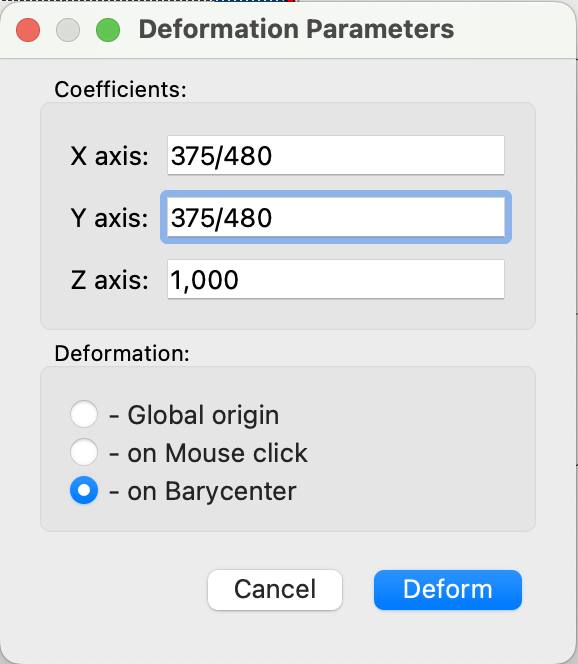
We select the image and execute the Warp image command, from the Process menu.
In the Axis X and Axis Y fields, enter the values Real measurement/Apparent measurement (375/480)
Now the image is perfectly scaled:

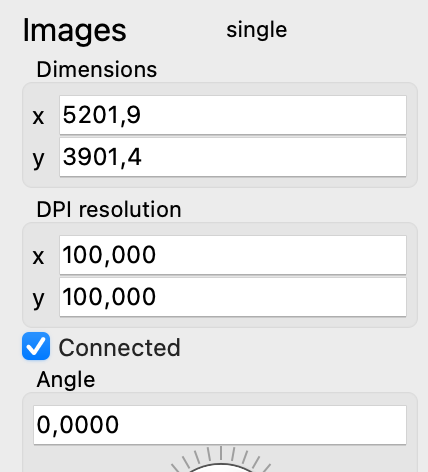
The image can also be resized in the image panel by changing the size or resolution.
Drag and Drop
With this method, images are dragged directly into the working window, either from disk or from another application.
Here is the previous case with Drag and Drop. Click on the image on the WEB page and drag it to the Domus.Cad work window
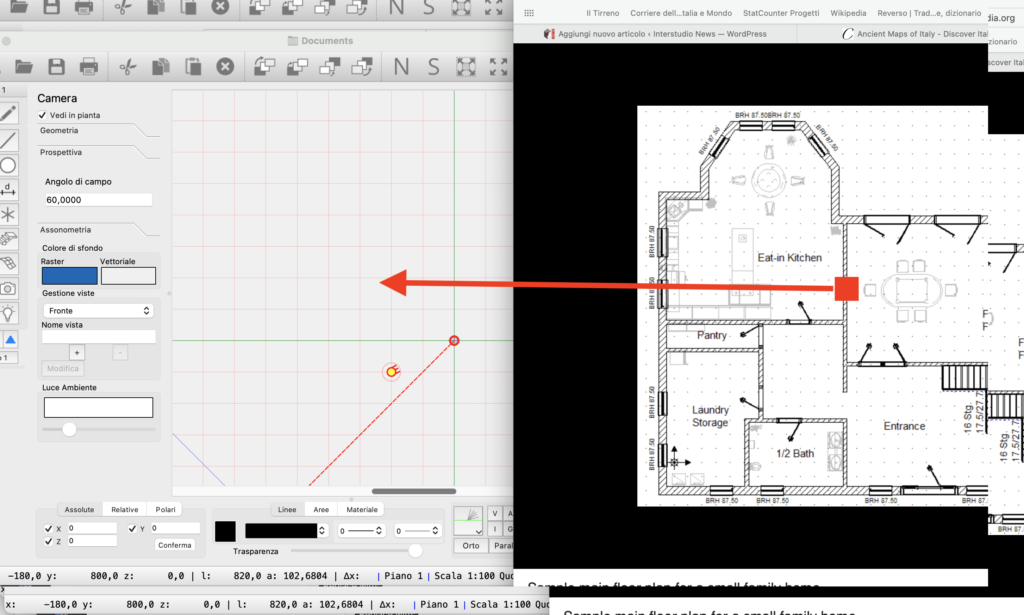
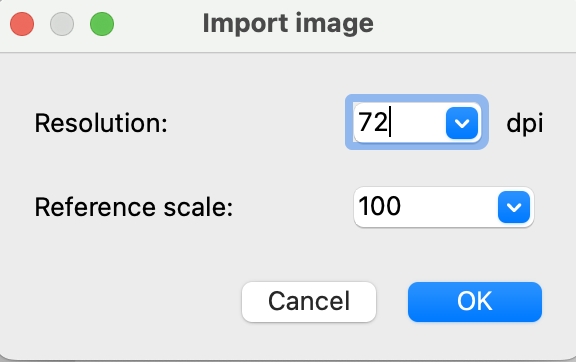
When you release the mouse button, the resolution selection dialog box appears:
If the image contains information on its resolution, this is shown, otherwise the default value, 72 dpi, is set. The resolution is relative to the reference scale, set below. Higher resolutions import the image with a smaller dimension in plan view, the number of pixels of the image is not modified.
Once the image is imported, the transparency and scaling operations described for Copy and Paste can be performed.
Import image
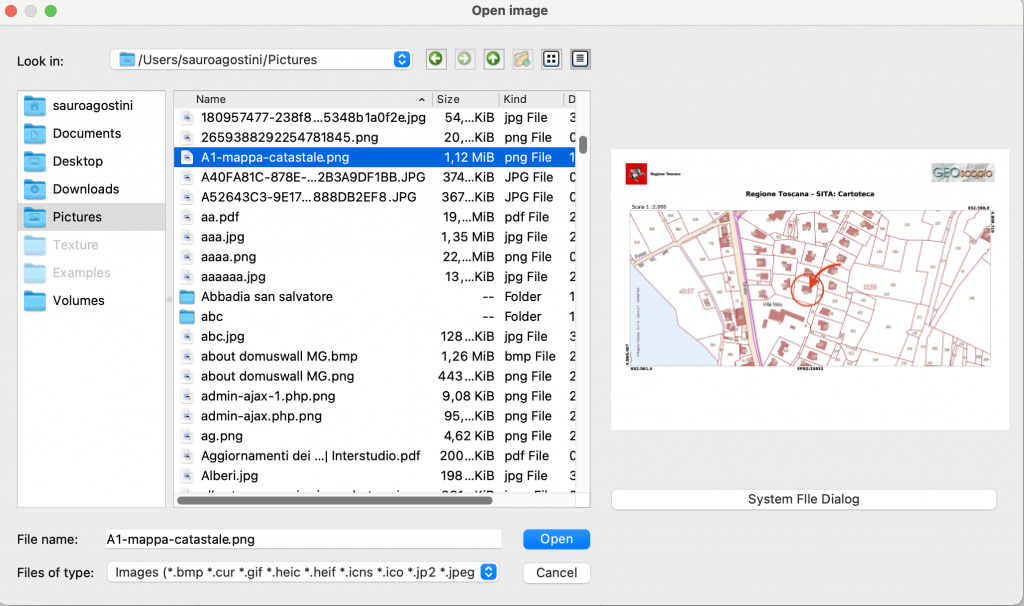
The images are imported using the Import->Image command, from the Layers menu
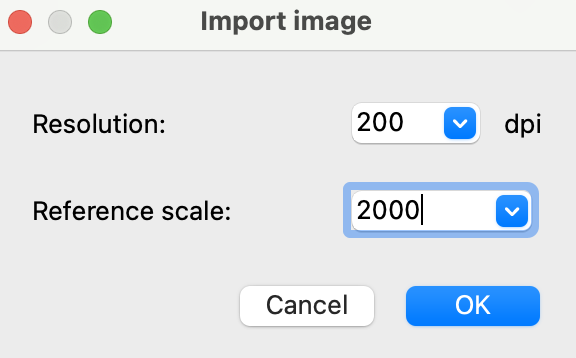
Also in this case the window for choosing the resolution appears:
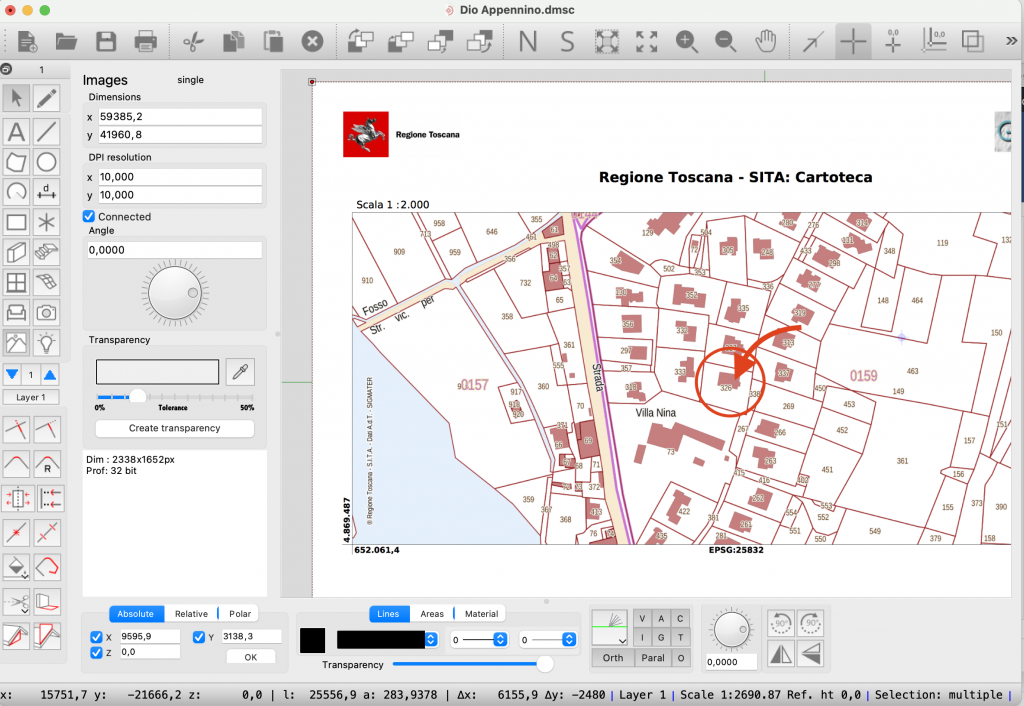
In this case, however, the image contains information on the resolution for which the original one is automatically reported. I have to set the reference scale of the original image, which is 1:2000.
At this point the imported image is already correctly scaled.
Cropping or drilling of images
Images are always rectangular, but can be cropped and punched to remove parts that are not useful.
There are two ways, here we use the Holes command, available from the Modify menu and from the top palette.
This operation is very important in the landscape impact to insert the project in the landscape.
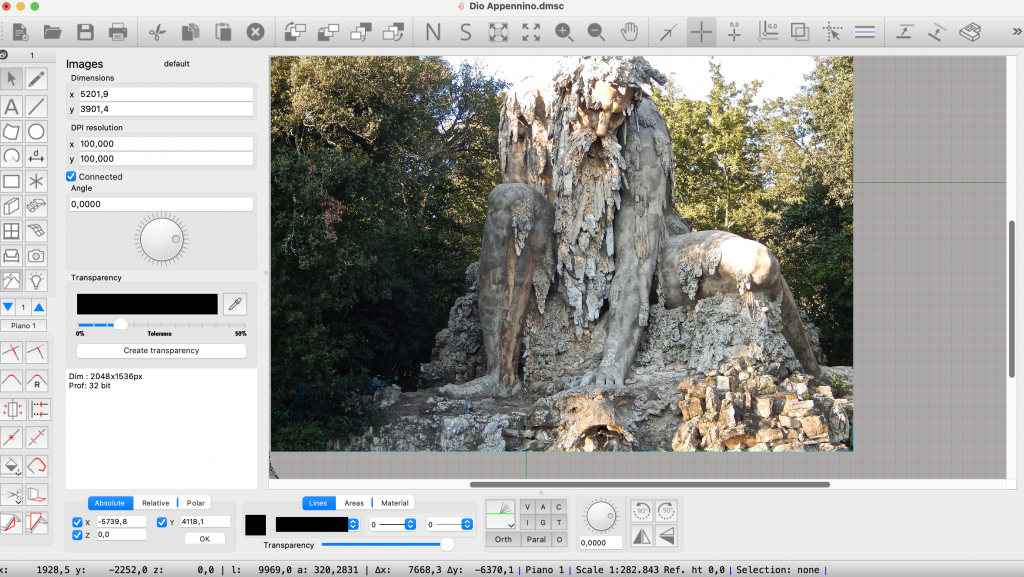
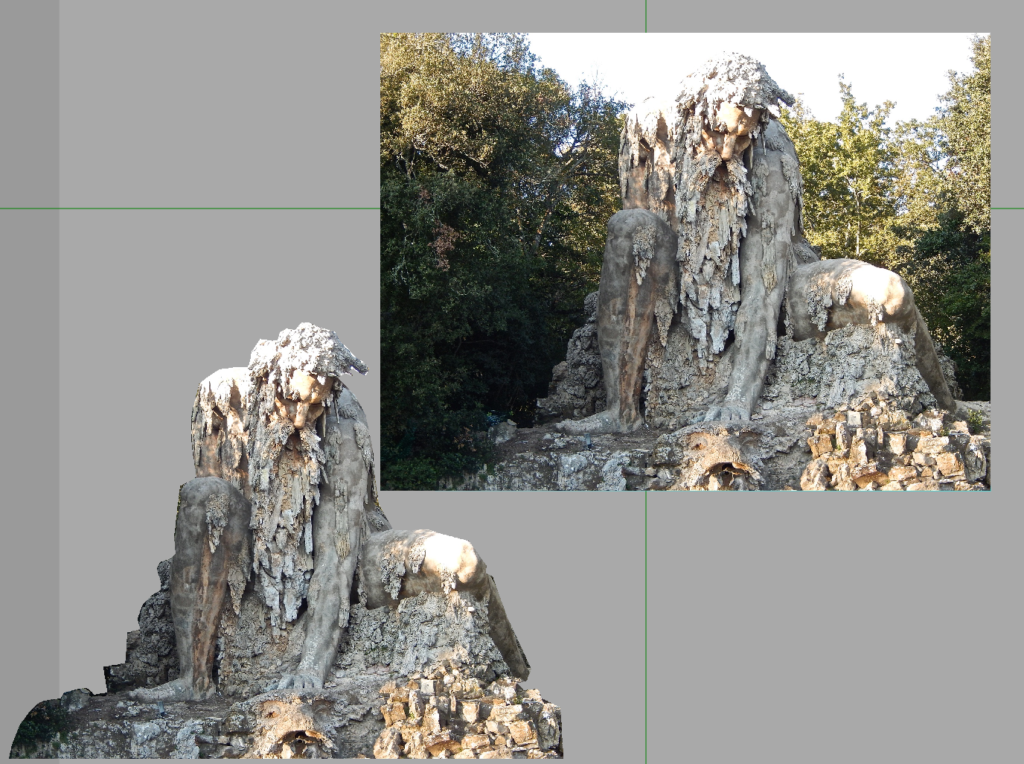
To show these operations we use a photo of the Apennine God by the sculptor Gianbologna, located in the park of the Medici villa in Pratolino (Florence).
We want to separate the statue from the rest of the landscape.
Let’s draw a polygon that surrounds the statue.
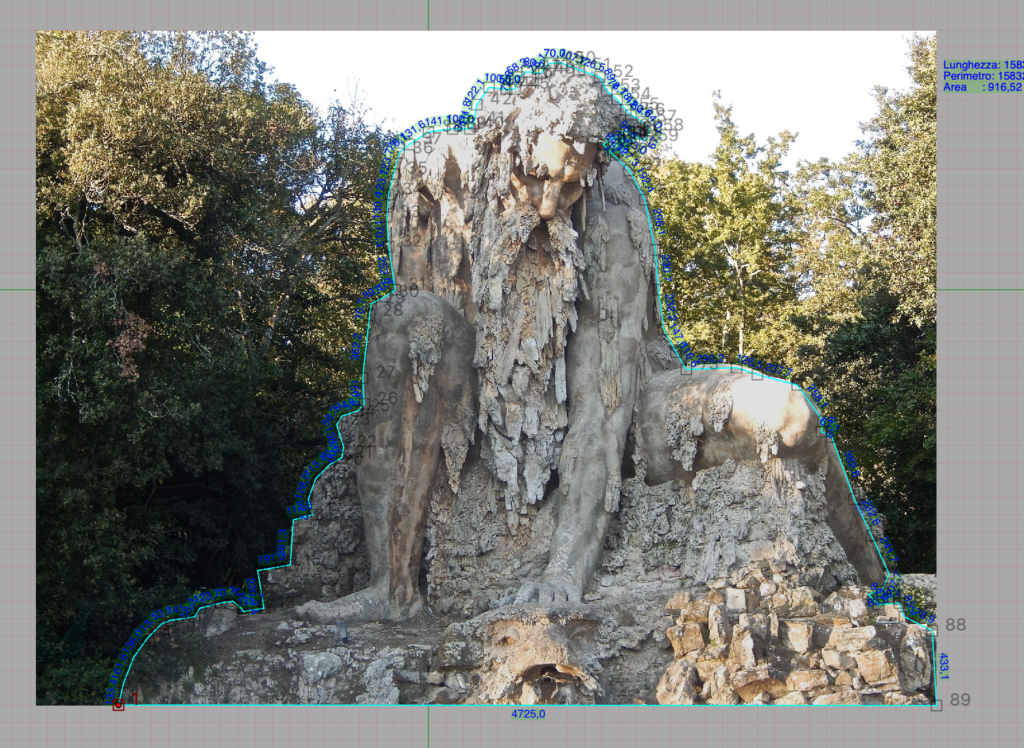
We select the polygon and execute the Holes command from the Process menu.
The operation can also be done by clicking on the Holes icon in the palette at the top.
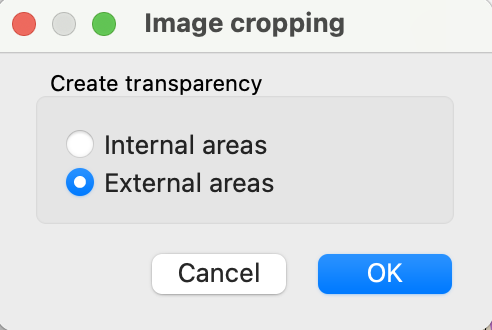
After clicking on the image to be drilled, the following window appears.
The image is cropped along the contour of the polygon and moving the resulting image the cut is evident, the outer part is eliminated.
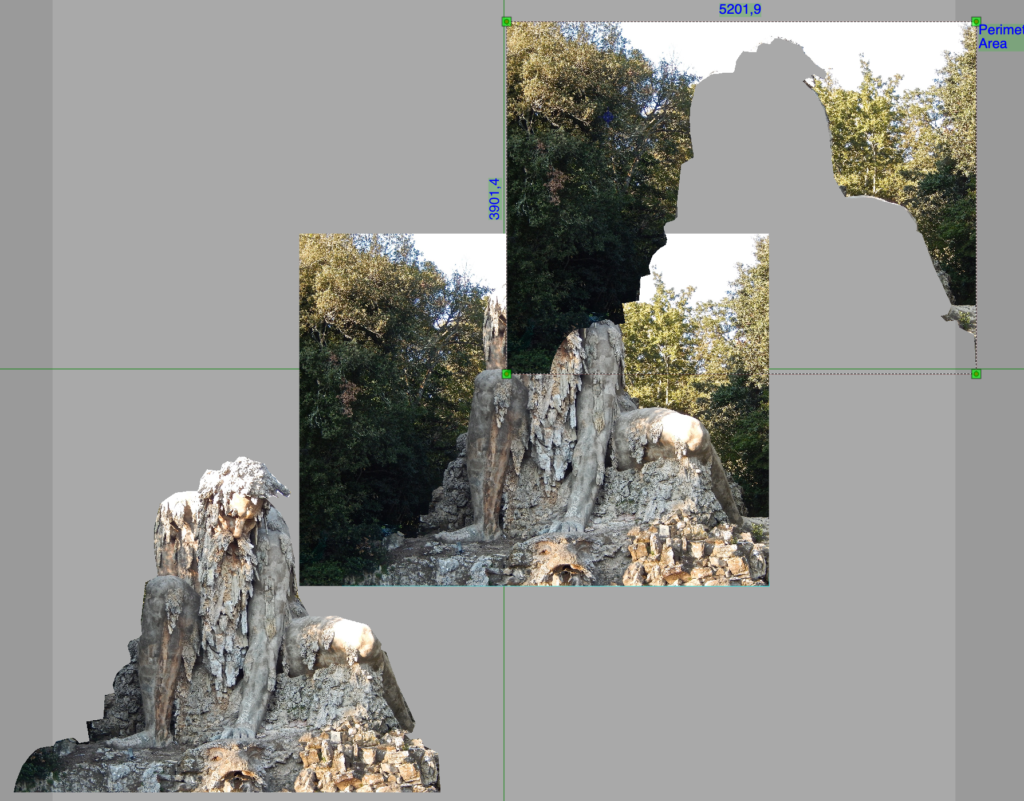
It is also possible to drill the image, choosing Internal areas, in this case an image without the statue is extracted.
Other image operations
The images can be rotated, deformed, lifted, mirrored using the various Domus.Cad commands of the Process menu and of the inspector palette at the bottom and of the pannerò of the images.
They can also be made more or less transparent with the transparency slider.
Domus.Cad can export each layer and layout as an image, in one of the following formats:

During the export phase, it is possible to choose the resolution and print scale, with an indication of the dimensions in mega pixels of the exported image.


